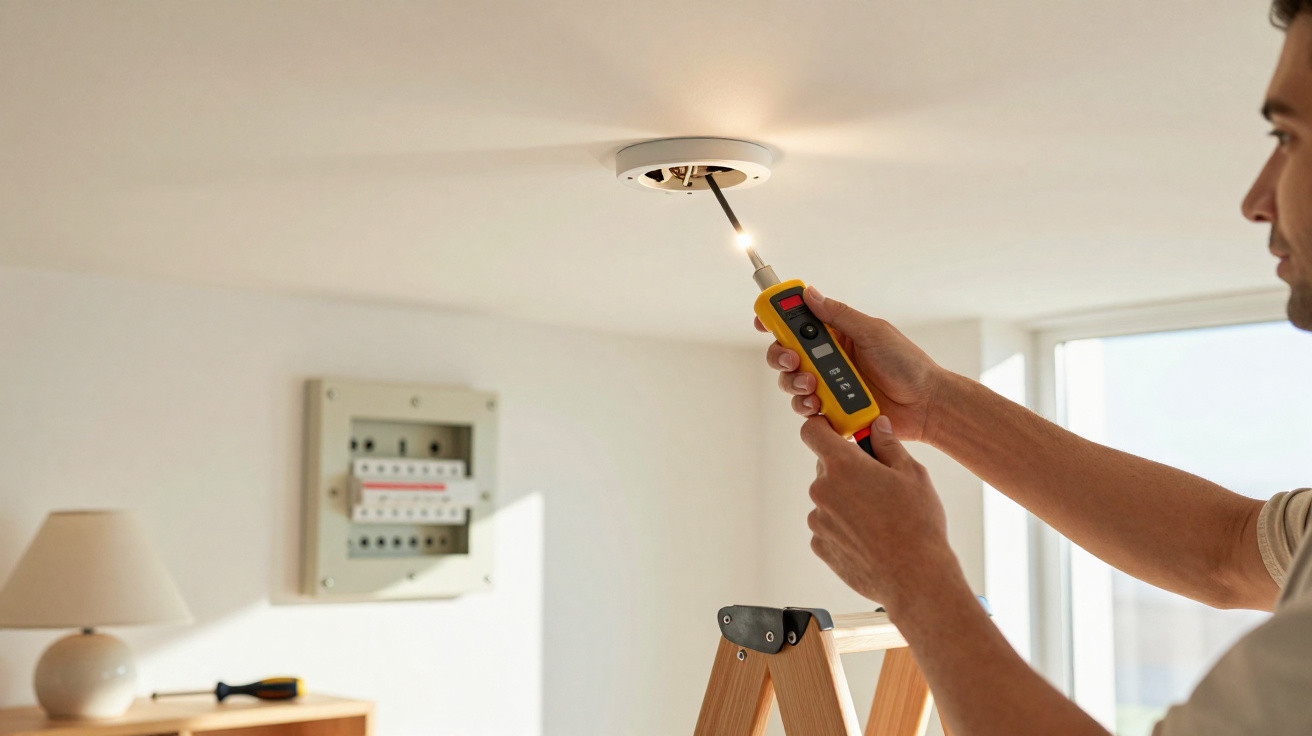
A common fault can be fixed yourself – provided you carry out one straightforward safety check.
A faulty ceiling lamp holder is not a job that requires an emergency electrician; it is a typical small repair that almost anyone can manage. By following a few basic rules and, above all, carrying out one crucial safety check, you can avoid calling out an electrician, save yourself hassle and keep costs down.
Why a faulty ceiling lamp holder is not an electrician emergency
Many people know the situation: after a long day, you press the switch and nothing happens. You fit a new bulb or LED lamp, yet the room remains dark. Often, the lamp is not the problem at all – the fault lies with the holder at the ceiling connection.
This is usually where uncertainty begins. Electricity deserves respect, and rightly so. However, not every minor household issue calls for a professional who charges an hourly rate plus a call-out fee.
Replacing a basic ceiling lamp holder is among the most straightforward electrical jobs in the home – provided the power has genuinely been switched off safely.
When it is still worth calling an electrician
There are, of course, limits to DIY work. Anyone planning to renew the entire electrical installation, replace an old consumer unit or install an additional cable should use a qualified electrical contractor without hesitation. These jobs involve fire safety, personal safety and regulations that non-professionals can barely be expected to understand.
A simple lamp holder is different. It is a small, manageable component that costs only a few pounds and can be replaced using a screwdriver and a little care.
The cost trap of very small jobs
A standard E27 lamp holder from a DIY shop generally costs only a few pounds, depending on its quality. If you call an electrician to replace it, the bill can quickly add up:
- a call-out charge, often billed at a fixed rate
- at least one hour of labour, even if the job takes just 15 minutes
- a markup on the fitted material
As a result, a cheap lamp holder can easily lead to total costs of £60 to £120. There may also be a waiting period during which the lighting in the affected room is unavailable. Do the work yourself and the lamp can often be back in operation within 15 minutes – safely and without the inconvenience of arranging an appointment.
The key safety check: switched off must mean genuinely dead
The truly serious issue is not the screwdriver, but one question: is voltage still present or not? A consistent routine can eliminate many household risks entirely.
Only the consumer unit genuinely disconnects the power
The most common misconception is: “The switch is off, so there is no electricity.” That can be seriously misleading. In older installations or poorly wired circuits, the wall switch may disconnect the neutral conductor while the live conductor still runs to the lamp holder. The lamp remains off, but the wires at the ceiling are still live.
Rather than relying on assumptions, follow this simple rule:
- Switch off the light switch.
- Go to the consumer unit.
- Turn off the circuit breaker for the relevant room or, if in doubt, switch off the main isolator.
Work on wiring must never take place while a switch alone is being relied on for safety – only the consumer unit provides dependable isolation.
Without a voltage tester, your fingers become a dare
Even after switching off the circuit breaker, one doubt remains: have you definitely isolated the right circuit? In older buildings especially, circuit labels are often incomplete or simply incorrect.
This is where a basic tool that every household should own becomes important: a voltage tester. This may be:
- a traditional voltage-testing screwdriver
- a two-pole voltage tester, also known as a “VDE voltage tester”
- a multimeter with a voltage measurement function
Using it is straightforward: place the probes against the contacts in the lamp holder or the stripped wire ends. If nothing lights up and nothing beeps, there is no voltage present. This check takes barely longer than finding the tool, but it makes all the difference between working safely and poking around dangerously.
How to replace a ceiling lamp holder step by step
Once the circuit has clearly been confirmed as dead, the repair becomes a simple practical task. There is no need to fear complicated technology if you work calmly and carefully.
Remove the old holder and note the wiring
Before taking off the old lamp holder, inspect it closely. Most ceiling lamp holders have two sections that can be separated using a thread or a small clip.
A useful trick, also used by many professionals, is to take a quick photograph with your phone before disconnecting any wires. This allows you to see exactly where each wire was connected when reassembling everything later.
When removing the wires, you may already spot the fault: crumbling insulation, tarnished or blackened copper wire, or loose screw terminals. If this happens, shorten the wires slightly, strip back fresh insulation and ensure the connection is clean.
Understanding wire colours: which conductor goes where
The following colour system applies in most homes:
| Colour | Function |
|---|---|
| Blue | Neutral conductor (return conductor) |
| Brown / Black / Red | Live conductor (carries voltage) |
| Green-yellow | Protective earth conductor, where present |
The new lamp holder has correspondingly marked terminals. Clamp or screw the wires securely into these. The important point is that the bare copper ends must disappear fully into the terminal, with no unprotected metal protruding, while the screws need to be tightened firmly without crushing the cable insulation.
A loose connection can later cause flickering and heat – the screw connection should be tight, but not brutally overtightened.
First test: does the lamp shine steadily or flicker?
After connecting the wires, reassemble the lamp holder and secure it firmly to the ceiling. Then comes the moment of truth.
Turn the circuit back on and operate the light switch
First, fit a suitable lamp into the holder. Check that the cap type is correct, whether E14 or E27, and never exceed the maximum wattage stated on the lamp holder.
Then return to the consumer unit and switch the circuit breaker or main isolator back on. Wait briefly to see whether anything trips. If everything remains normal, go back into the room. Only then should you test the new installation using the wall switch.
If the lamp lights evenly without humming or flickering, the job has been successful. If it stays dark, there is usually a simple wiring error that can be corrected quickly by referring to the photograph taken beforehand.
What risks remain even when the work is done correctly?
Following the safety rules described and reliably checking that the circuit is dead significantly reduces the dangers. Remaining risks are more likely to come from the surroundings: unsteady ladders, poor lighting while working, or screwdrivers slipping. A calm set-up is therefore worthwhile:
- use a sturdy step ladder rather than a chair
- connect a bright work light from another room
- do not rush – allow enough time, even if the replacement itself is quick
More confidence around electricity – but with clear limits
Anyone who has replaced a faulty ceiling lamp holder themselves soon realises how much unnecessary hesitation surrounds simple electrical jobs in everyday life. The process is always similar: isolate the power safely, confirm that there is no voltage, change the component and carry out a test.
This routine can be applied to other small tasks, such as replacing a faulty light switch, tightening a loose socket terminal or changing an unstable terminal block. The same safety check remains the essential factor every time.
Even so, there are boundaries to your own comfort zone. Once several cables, complex switching arrangements or moisture are involved – for example in a bathroom or outdoors – the likelihood of errors increases. At that point, a qualified contractor should be brought in. Fire damage or personal injury can wipe out any apparent saving in seconds.
For the typical burnt-out ceiling lamp holder in a living room or bedroom, however, the following applies: if you work carefully, follow a strict safety routine and use simple tools, you can safely leave the electrician in the phone book – and enjoy bright light again along with a modest DIY shop receipt.

















Comments
No comments yet. Be the first to comment!
Leave a Comment