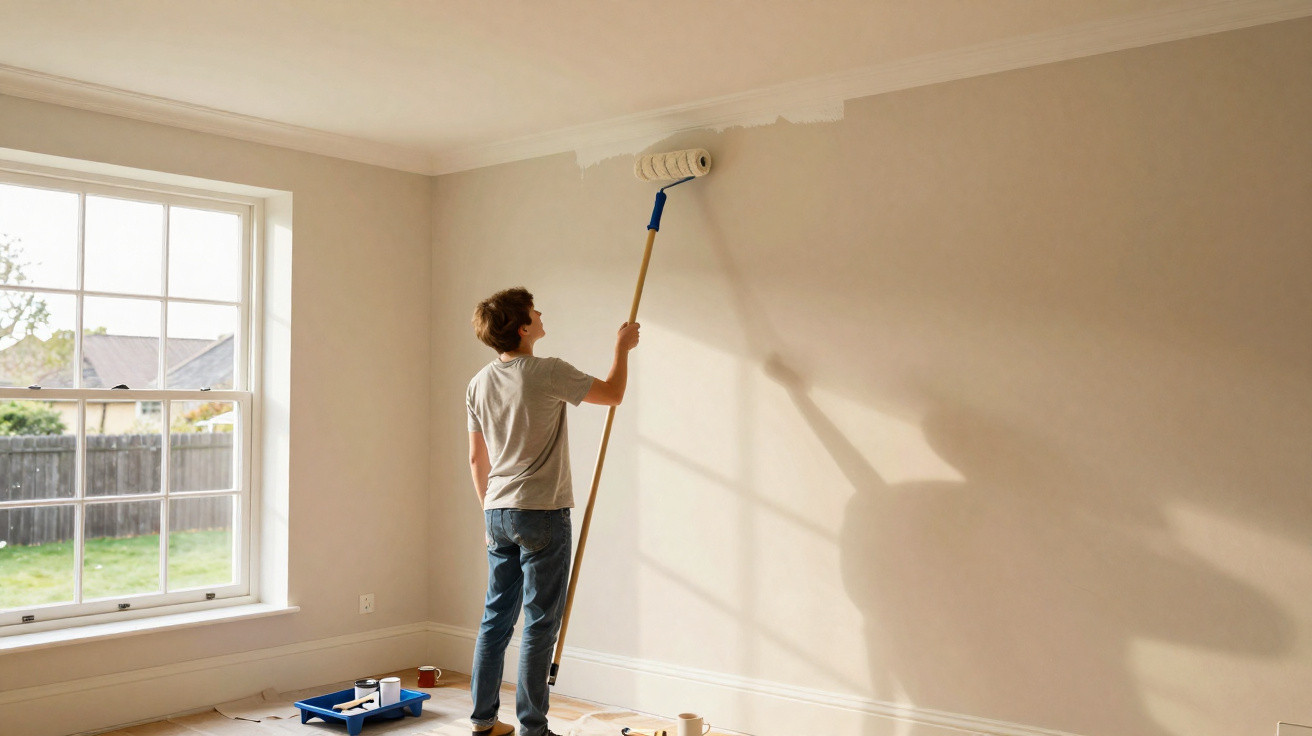
Before picking up the rollers, it is worth knowing the right sequence. Applying coats in a precise order reduces lap marks, particularly on large walls.
Repainting a living room, bedroom or hallway may look straightforward, yet practical guidance published by a specialist website and relayed by the source outlet warns that an unsuitable method often leaves highly visible “lap marks”. This is directly relevant to DIY enthusiasts in France, where interior painting remains one of the most common home improvement jobs. The aim is to follow a disciplined order when preparing surfaces and applying coats, producing an even finish without visible joins.
Why lap marks appear on walls
“Lap marks” are areas that appear duller, shinier or slightly darker as the paint dries. They are especially noticeable in raking light, such as beside a window or patio door. The specialist outlet quoted by the source website notes that these imperfections rarely result from the paint alone. They are more commonly caused by:
- poorly prepared surfaces, including dust, old stains or unsanded filler;
- incorrect management of drying times between coats;
- a disorganised painting sequence, such as starting with the walls rather than the ceiling;
- too little paint on the roller or pressing it down too heavily while painting.
Another common cause identified by professionals interviewed by the outlet is localised touching-up: trying to correct a small area that has already dried without repainting the entire section. Although it may seem harmless, this creates a “patch” that will show once the room is lit.
A uniform finish depends as much on preparing the surface as on the order in which the different coats are applied.
Preparing the room: the first invisible “coat”
Before the tin is even opened, the source highlights one essential stage: organising the room. The following advice applies equally to homeowners in France and professional decorators:
- Clear the room as far as possible, or place furniture in the middle and cover it with a dust sheet.
- Remove switch and socket faceplates, curtain rails and, where possible, removable skirting boards.
- Clean the walls: remove dust throughout, and wash greasy areas around switches, cooker hoods or radiators.
- Repair imperfections by filling holes, cracks and dents, then sanding them smooth.
- Mask corners and difficult areas using good-quality masking tape.
This stage adds no colour, but it determines the final result. A poorly sanded filled joint will still show through the paint, even after several coats.
The exact order of coats to reduce lap marks
The source article sets out a very specific sequence. The professionals interviewed stress that following this order substantially lowers the risk of lap marks.
1. Paint the ceiling first
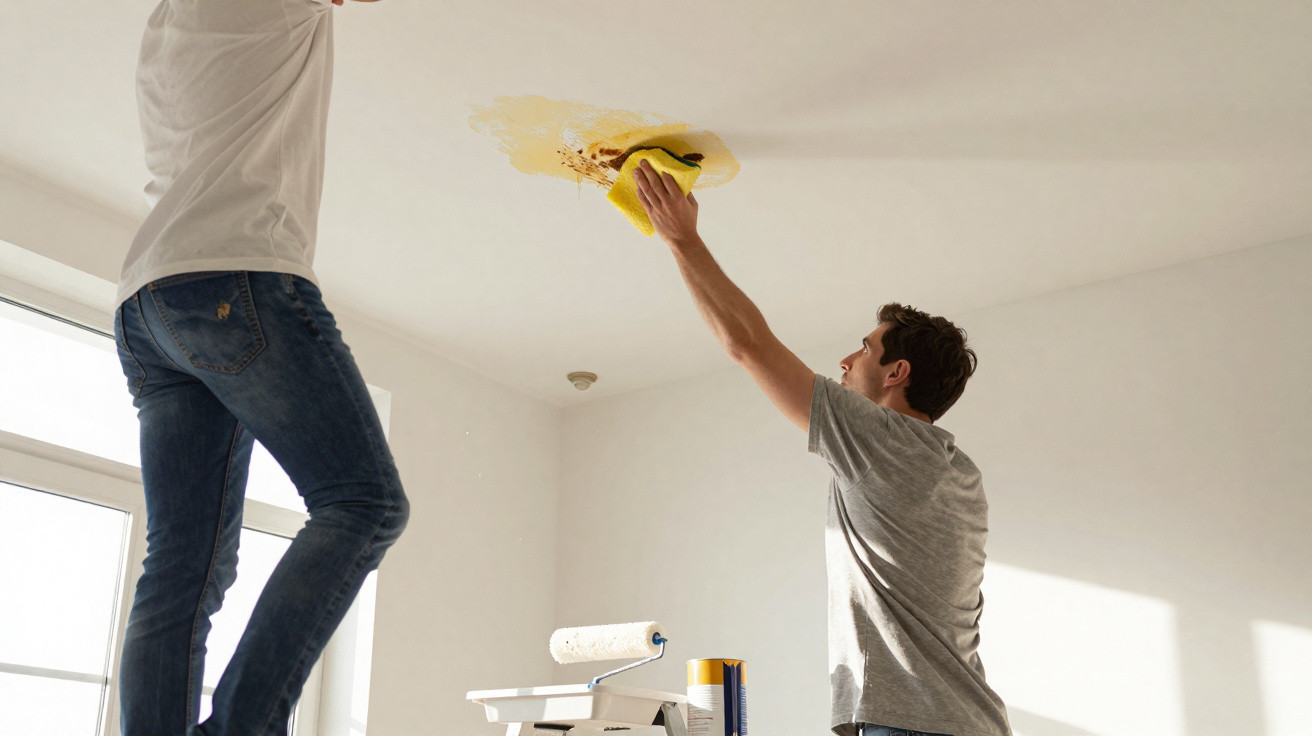
The ceiling should always be painted first. In France, tradespeople follow the same principle: as paint can drip, it is better for it to fall onto walls that are still bare or awaiting their final finish.
- Apply a primer if the surface is bare, uneven in absorption or strongly contrasting in colour.
- Apply two finishing coats in the same direction, lightly cross-rolling while always laying off the final bands towards the main light source.
The outlet also emphasises the importance of working “wet-on-wet”: load an area, cross-roll it, then complete the section immediately. Do not allow part of the ceiling to dry before joining it, as this can create a visible line.
2. Paint walls from the lightest to the darkest colour
Once the ceiling is dry, the recommended method is to move on to the walls. The source sets out a simple principle: paint light-coloured walls first, followed by darker ones. This reduces the risk of dark shades spreading onto pale colours, which are harder to correct.
The recommended order is: ceiling, light walls, dark walls, then finishing elements such as skirting boards and woodwork.
On every wall, the precise order for applying coats is also defined:
- Cut in around edges with a brush: the ceiling-to-wall junction, internal and external corners, and around windows and doors.
- Immediately use the roller on the same area, without allowing the paint time to start setting.
- Paint continuous vertical strips from ceiling to floor, ensuring that each pass overlaps properly.
- Never rework an area that is already drying, even if a faint mark appears.
The source specifies that this discipline applies to every coat, while strictly observing the manufacturer’s stated drying times between applications.
3. Woodwork, skirting boards and finishing features
The final part of the sequence covers everything applied over or alongside the finished wall paint. The outlet’s advice follows standard practice in France:
- doors and door frames;
- skirting boards;
- windows and window sills;
- any decorative mouldings and cornices.
These features should be dealt with at the end of the painting job, as they often require different products, such as oil-based paint, lacquer or a dedicated acrylic woodwork paint, as well as careful masking to avoid marking finished walls.
The crucial role of primer and drying times
The article strongly underlines one point: primer is not optional. On a new wall, previously very glossy paintwork or a stained surface, it evens out absorption and therefore limits the risk of lap marks.
Without a suitable primer, each part of the wall absorbs paint differently, leading to variations in sheen and colour.
Plaster, aerated concrete and plasterboard blocks are highly absorbent. Without a primer, the first finishing coat is drawn into the wall and dries too quickly, making the joins almost impossible to blend.
The source also stresses the need to observe drying times between coats exactly. In France, manufacturers always state a minimum time on paint tins, which varies according to the type of paint. Going back over a coat too soon with a roller can pull off the first coat and create duller patches.
Which habits help ensure a successful decorating job in France?
For readers in France, this advice closely matches the recommendations issued by major paint brands and DIY retailers operating in the country. The same logic applies: ceiling first, then walls, followed by woodwork.
Home improvement advice bodies and specialist shops in France also highlight several additional habits:
- work at a moderate temperature, without strong draughts that speed up drying;
- choose a suitable roller, with longer pile for lightly textured walls and shorter pile for perfectly smooth surfaces;
- mix every tin thoroughly, or combine several tins of the same product in a large bucket to prevent colour variations between the top and bottom of the wall;
- allow enough paint to avoid stopping halfway across a large surface.
Single-coat paints are also available in France, but professionals interviewed by different media outlets regularly point out that a second coat almost always delivers a more even finish, especially on large wall areas.
How to correct lap marks that are already visible
When marks have already appeared, the source article suggests a decisive solution: repaint the entire affected section rather than just the marked spot. The principle is straightforward: return the room to suitable conditions of temperature and lighting, then repaint the wall from one corner edge to the other, this time maintaining the correct application pace.
With some matt paints, a slight lap mark may become less noticeable after a few days while the colour settles. However, where the mark is distinct in raking light, the only lasting solution is to apply another full coat.
Useful concepts for managing a painting job
The term “open time” frequently appears in manufacturer instructions and guidance. It refers to the period during which paint remains sufficiently wet to allow wet-on-wet joining. On a large surface, this determines the pace required. Working too slowly risks dry joins, while working too quickly can leave insufficient paint on the surface.
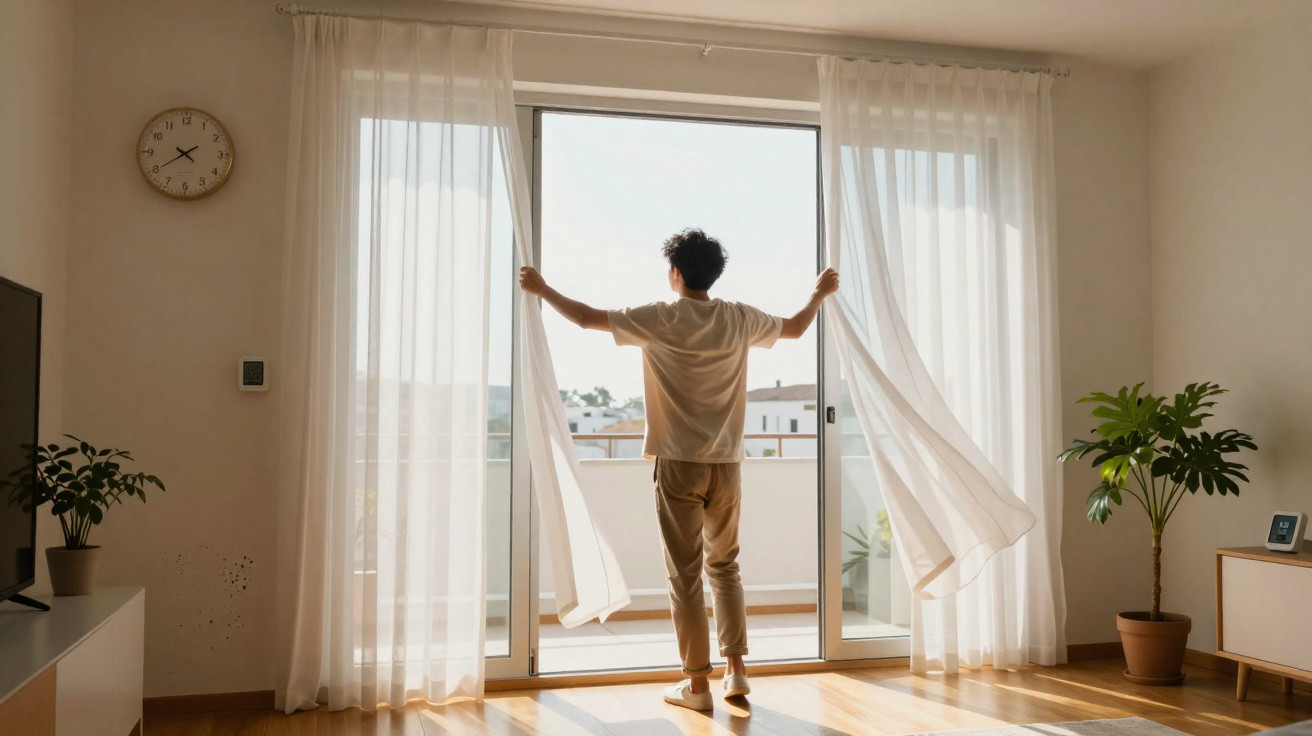
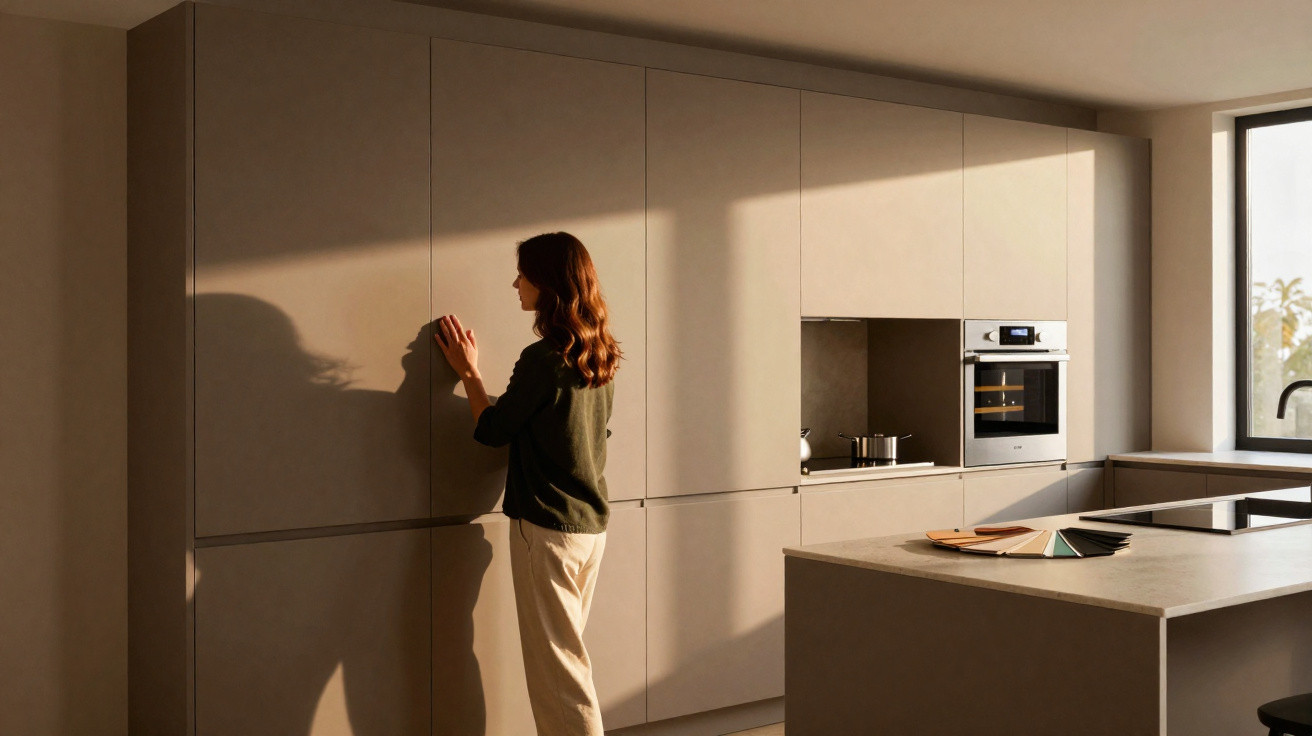
Professionals also highlight the concept of “raking light”. During the day, large glazing or a south-facing window will mercilessly reveal even the smallest wall irregularity. Checking the paint at different times of day helps establish whether lap marks are genuinely troublesome.
For a small flat or a room with substantial light exposure, some painters in France recommend carrying out a few tests on a secondary wall before tackling the most visible surfaces. This makes it possible to check whether the surface, primer and finishing paint are compatible before applying, in the correct order, every coat needed for a room free from lap marks.




Comments
No comments yet. Be the first to comment!
Leave a Comment