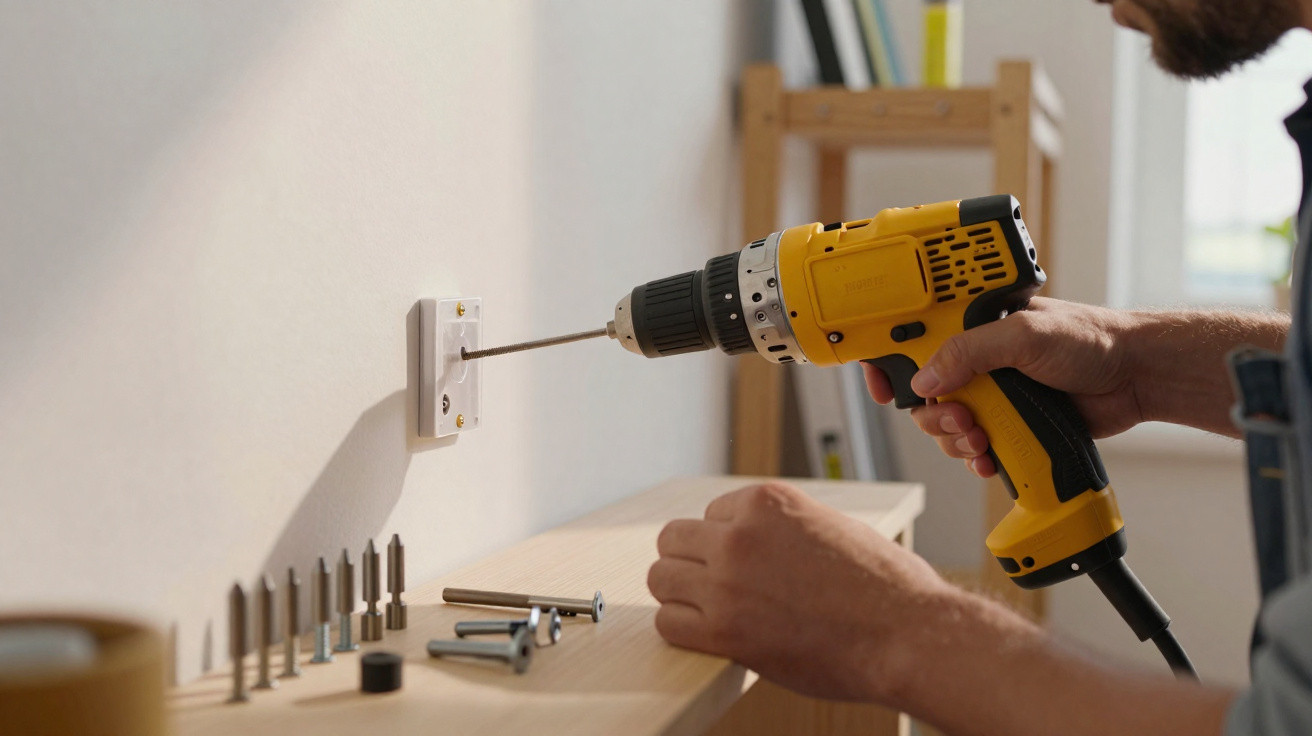
A picture on the floor, a crooked shelf and a television wobbling on the wall: the quiet nightmare for anyone taking a chance on DIY.
In a country where a drill has become an almost essential household tool, many people still entrust their shelves to a single hole in the wall. The consequences often emerge months later: loose wall plugs, cracks and the feeling that any additional weight could cause a disaster. Behind this domestic drama lies a rarely discussed technique used by professional fitters and installers, which completely changes how a wall plug performs inside the wall.
Choosing the wall plug is still only half the job
Everyone has heard the familiar advice: use the right wall plug for the right material. That remains true. What is seldom explained is that preparing the hole properly, and ensuring that the plug expands correctly inside the wall, matters just as much as the plug itself.
Identifying the wall without damaging it
Before drilling, first establish what material you are dealing with. Solid masonry, concrete, hollow brick and plasterboard walls all respond very differently to the same wall plug.
- A dull, firm sound when tapped with your knuckles usually suggests concrete or solid brick.
- A hollow sound is a strong indication of plasterboard or hollow brick.
- Fine white dust while drilling generally means plaster or gypsum block.
- Coarser, reddish dust points to ceramic brick.
This quick assessment already prevents a large share of failures. However, it does not yet reveal the professionals’ key technique.
The unobtrusive trick behind “anchored” wall plugs
Experienced installers rarely just drill, blow out the dust and push in a wall plug. They often “anchor” the plug, creating controlled conditions within the hole so it works as intended: without turning, slipping or crushing the surrounding material.
The little-known technique involves turning a simple hole into a small anchoring chamber, tailored to the wall type and the weight of the item.
This chamber can be created in several ways: with a small timber packing piece, a filler reinforcement, or resin or grab adhesive, always used in moderate quantities. The intention is not to “glue everything permanently”, but to provide genuine support where the wall is weak or hollow.
Drilling is not simply making a hole: it is preparing a bed for the wall plug
From the outside, all people see is the drill. Those who understand the process see a series of small precautions that stop a wall plug failing at the first jolt.
Diameter and depth need to be just right
The job is decided by millimetres. The hole diameter must precisely match the size stated on the wall plug packet. Estimating it by eye usually creates one of two problems:
| Situation | What happens |
|---|---|
| Hole wider than recommended | The wall plug spins, fails to expand properly and gradually loses its grip. |
| Hole narrower than recommended | The plug goes in misshapen, cracks the wall or does not expand evenly. |
Depth matters too: the hole should be slightly deeper than the wall plug, allowing it to settle and expand without being compressed against the bottom.
A clean hole gets you halfway there
Dust inside the hole acts as a lubricant, making the wall plug rotate, slide and lose holding power over time. Experienced professionals rarely skip this stage.
Three seconds with a vacuum cleaner nozzle held against the hole are often worth more than changing the wall plug three times.
If a vacuum cleaner is not available, use a hand air blower, an empty syringe or even a rigid straw to blow out the dust, taking care to protect your eyes. The aim is for the inside of the hole to be clean, dry and free of loose debris.
How the “secret” reinforced fixing technique works
Here is the less discussed part: in weak or hollow walls, professionals often pair a mechanical wall plug with a second anchoring element inside the hole.
Internal reinforcement for hollow or tired walls
In cracked plasterboard, for example, a toggle plug alone may fail if the board is crumbling. A solution used by many fitters is to form a type of “internal wedge”:
- Drill at a slightly stronger point on the board.
- Insert a small timber packing piece or batten behind it, aligned with the hole.
- The wall plug then bears against this reinforcement rather than only the weakened plasterboard.
With very fragile hollow bricks, another approach is sometimes used: partially fill the inside of the hole with a little rapid-setting filler, specialised mortar or resin. The wall plug is inserted while the material is still workable, leaving it literally embedded in a more rigid block within the brick.
When adhesive helps – and when not to use it
For highly porous walls, some professionals apply a thin layer of grab adhesive or epoxy resin inside the hole before inserting the wall plug. This forms a solid interface between the plug and the wall material.
The trick is to use only a small amount, enough to fill tiny gaps without turning the entire system into a single piece that cannot be removed later.
For kitchen units, heavy television brackets or wall-mounted cabinets, combining a mechanical wall plug with chemical reinforcement greatly reduces the likelihood of movement over the years, especially in older flats.
Classic mistakes that can bring down any shelf
Even with a suitable wall plug and a properly aligned hole, certain habits can undermine the fixing.
Rushing, the wrong hammer action and unsuitable screws
Three mistakes regularly appear during technical visits:
- Using hammer action on fragile walls, causing the material around the hole to crumble.
- Choosing a screw that is thinner than the one specified for the wall plug, preventing proper expansion.
- Overtightening a screw in plasterboard, pulling the board inwards and deforming the finish.
The screw and wall plug work as a pair. When they are not compatible, the load is no longer distributed as it should be and becomes concentrated in small areas, creating cracks and looseness.
When to use each wall plug and reinforcement combination
Practical examples from real situations
Consider three common scenarios in Brazilian flats:
- Light shelf on a concrete wall: a basic expansion wall plug, a hole drilled to the exact diameter and cleaning with a vacuum cleaner. No additional reinforcement is needed.
- Wall-mounted cabinet on a hollow-brick wall: wall plugs designed for hollow masonry, a slightly deeper hole and a light filling of rapid-setting filler in the weakest cavities.
- Television bracket on plasterboard: toggle or metal wall plugs, a preliminary test of the board’s strength and internal timber reinforcement where crumbling is evident.
These combinations prevent the load from being concentrated at a single critical point in the wall. In many cases, spreading the load across more fixing points is as important as selecting the correct wall plug.
Risks, load limits and warning signs
Every reputable manufacturer states the maximum recommended load for each type of fixing on the packaging. Ignoring that information transfers the risk to anyone using the room. In children’s bedrooms and narrow corridors, falling shelves and televisions can lead to serious accidents.
Several signs demand immediate attention: a wall plug turning as the screw is tightened, excessive dust coming out of the hole, star-shaped cracking around the fixing point, or the sense that the bracket “breathes” when slight hand pressure is applied. In these circumstances, persisting with the same hole rarely solves the problem. It is generally better to consider internal reinforcement or, in extreme cases, move the fixing point.
Small strategies that improve your DIY work
A sound fixing does not mean filling the wall with cement. It means understanding how the wall plug, screw and wall behave together over time. If you like to anticipate scenarios, imagine the furniture receiving not only the static weight of its contents, but also the impact of a slammed door, a child leaning on it or more forceful cleaning.
This long-term perspective helps you size both the wall plug and the internal reinforcement more effectively. During future renovations, a well-planned fixing means fewer blown-out holes, fewer repairs and less improvisation. Ultimately, the professionals’ little-known technique is less a secret trick than a collection of small measures that make every hole a reliable point in the home.















Comments
No comments yet. Be the first to comment!
Leave a Comment