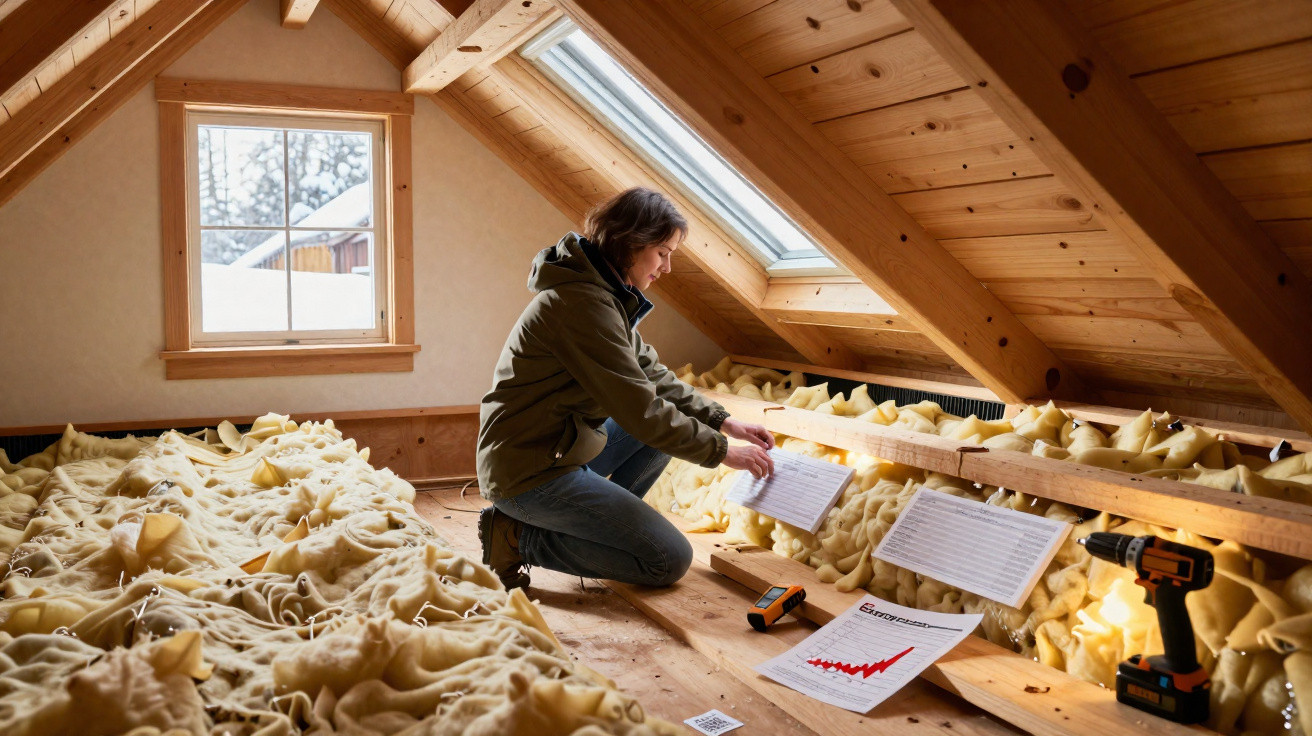
If you are constantly adjusting the thermostat in winter yet still putting up with cold ceilings and high bills, you may be overlooking a quiet energy drain: poorly ventilated attic spaces directly beneath the roof. With manageable effort and a willingness to use a ladder, you can tackle a project that delivers warmer rooms and lower energy use throughout the winter.
Why your attic has such a big impact on your heating bill
Warm air rises in every home. It gathers in the rooms below the roof before moving further into the attic area. When this warm, usually moisture-laden air meets the cold roof structure, condensation forms. That is where the problem starts.
Insulation in the attic performs properly only when it remains dry. Once it absorbs moisture, it compresses, becomes colder and loses some of its insulating performance. Heating energy then effectively escapes through the roof.
Refurbishment experts estimate that, in older homes with poor insulation, as much as around 30 per cent of heating energy can be lost through the roof and attic area.
This may sound theoretical, but it becomes very real when your monthly direct debit for gas, oil or district heating rises month after month. Although many homeowners initially focus on windows, doors or the heating system itself, the interaction between insulation and airflow in the attic is just as important.
How effective attic ventilation should work
A continuous flow of air is needed to prevent moisture from accumulating in the attic. The principle is straightforward: cold air enters at the bottom, while stale, damp air leaves at the top.
This will generally involve the following:
- Air intake at the bottom: through ventilation openings in the roof overhangs, such as soffit vents or ventilation grilles beneath the eaves.
- Air outlet at the top: through openings close to the roof ridge, for example roof vents, a ventilated ridge or dedicated vent cowls.
- A clear ventilation channel: a gap must be maintained between the insulation and the underside of the roof structure so air can travel upwards from the bottom.
In practice, insulation material is often found blocking these lower openings completely. In some cases, they were covered carelessly during refurbishment work; in others, the original installation never allowed for adequate airflow.
Professionals in North America often use a rule of thumb: for every 300 square metres of roof area, there should be roughly one square metre of unobstructed ventilation area, divided as evenly as possible between air intakes and outlets. It is not a fixed legal requirement, but it demonstrates the importance of air exchange.
Warning signs that your attic is wasting heat
Many indicators can be spotted without any measuring equipment. A careful walk through the house and attic will often reveal more clues than expected.
Common visible signs in and beneath the roof
- Water marks or dark edges on the underside of the roof structure.
- Damp patches or mould marks around roof windows.
- A musty smell when you open the attic door.
- Discoloured, brownish areas on ceilings in rooms below the roof.
- Insulation that feels damp, is heavily compressed or has turned black in places.
If you live in an area that receives snow, you can also identify issues from outside: where snow melts much faster on individual sections of the roof than elsewhere, considerably more heat is probably escaping there.
What poor attic ventilation feels like in daily life
The issue can also make itself known before visible damage appears. Typical experiences in occupied rooms include:
- Hallways, stairwells or landings beneath the roof feel noticeably colder than the rest of the home.
- The room temperature shown on the thermostat is correct, but ceilings still feel distinctly cold.
- In snowy areas, large icicles or actual “ice dams” form along the roof edge.
These ice dams usually develop when warm attic air softens the snow layer. Meltwater runs down and freezes again at the roof edge – a clear indication that heat is being lost in the wrong place.
The attic ventilation project worth doing before winter
The benefit is that many initial tasks can be completed with ordinary DIY knowledge. The aim is not to alter the entire roof construction, but to clear and selectively improve the air routes.
Step 1: Access the attic safely and assess its condition
Before starting work, personal safety comes first. Follow a few basic rules:
- Lay down sturdy timber boards so that you do not accidentally step through an uninsulated ceiling.
- Wear a face mask and gloves, as insulation materials can irritate the airways and skin.
- Use a powerful head torch or site light to ensure every area is visible.
Once you are in the attic, check the following points:
- Where are the lower ventilation openings in the roof overhang? Are they clear, or covered by insulation?
- Are there ventilation openings or roof vents at the ridge?
- Does the insulation run directly up to the roof boarding, or is there an air gap?
Step 2: Clear the vents and create ventilation channels
For many homes, this step alone can substantially improve air circulation. The goal is to reopen the lower ventilation grilles without reducing the effectiveness of the insulation.
Ventilation baffles, also known as air channels, are a proven option: lightweight pieces made from cardboard, plastic or foam that are fitted between the rafters and the insulation. They preserve a consistent air gap through which air can move from the roof overhang towards the top of the roof.
In many cases, unblocking the lower ventilation openings and fitting several baffles is enough – a typical weekend job with modest material costs.
Step 3: Upgrade ventilation at the top with roof vents and a ventilated ridge
Those confident taking on more can improve the upper part of the roof as well. Several options are available:
- Static roof vents, which operate without moving parts and rely solely on natural convection.
- Rotating vents, often known as turbine vents, which use wind to increase airflow.
- Vents with a small solar panel that actively draw warm air out of the attic on sunny days.
Reports from comparable projects put material costs at around €180 to €200, plus several hours of work to clean the lower ventilation openings and install an additional roof vent. In return, homeowners report less ice formation at the roof edge and noticeably less draughtiness on upper floors.
How heat, moisture and air are connected
Attic ventilation does not work in isolation. It complements other elements that influence comfort in a building.
- Insulation: insulation performs well only while dry. Effective ventilation helps keep it dry.
- Mechanical home ventilation: systems such as central extract ventilation provide fresh air in living areas, but they do not replace airflow beneath the roof.
- Indoor climate: when humid air builds up inside a home, it condenses first on the coldest surfaces, often ceilings. A dry, well-ventilated attic reduces this risk.
Experts also point out that indoor air quality can sometimes be significantly worse than outdoor air quality. If air is not extracted, pollutants, fine particulate matter and mould spores can build up. An attic where damp air remains stagnant can become a source of such contaminants, which may then affect the living areas below.
When DIY attic ventilation reaches its limits
The roof structure and the watertightness of the roof covering are always critical considerations. Anyone cutting into the roof to add vents should follow the manufacturer’s instructions precisely or employ a roofer. Poorly sealed penetrations can cause more damage than they save in heating costs.
Professional help is also required if there are signs of extensive mould growth. Mould on large timber surfaces or thoroughly soaked insulation suggests a long-standing issue. Simply opening the air routes will not be enough; materials often need replacing and the source of the moisture must be thoroughly investigated.
How the project is noticeable in everyday life
People who ventilate their attic successfully repeatedly describe similar results:
- Temperatures feel more even on the upper floor, even with the thermostat set to the same level.
- Ceilings and walls feel less “cold” to the touch.
- The heating runs for slightly less time to achieve the same comfortable temperature.
The exact saving can only be calculated on a case-by-case basis, as it depends on the insulation condition, heating system and weather. However, for anyone already considering refurbishment measures, an attic ventilation project offers a relatively inexpensive starting point whose benefits can be felt over several heating seasons.
Practical additions that work well with an attic project
While you are already up there, it makes sense to add a few further useful checks to the list:
- Look for and seal leaks around services, such as cable and pipe penetrations.
- Inspect the condition of the insulation: is its installed depth still adequate, and are there any gaps?
- Check the airtight layer, such as membranes or boards above the ceiling of the upper storey, and seal any obvious tears.
The combination of improved airflow, carefully sealed penetrations and locally added insulation often produces a clearly noticeable improvement in living comfort. By working methodically and recording the work completed, you also create a sound basis should an energy adviser or tradesperson plan further measures later on.
















Comments
No comments yet. Be the first to comment!
Leave a Comment