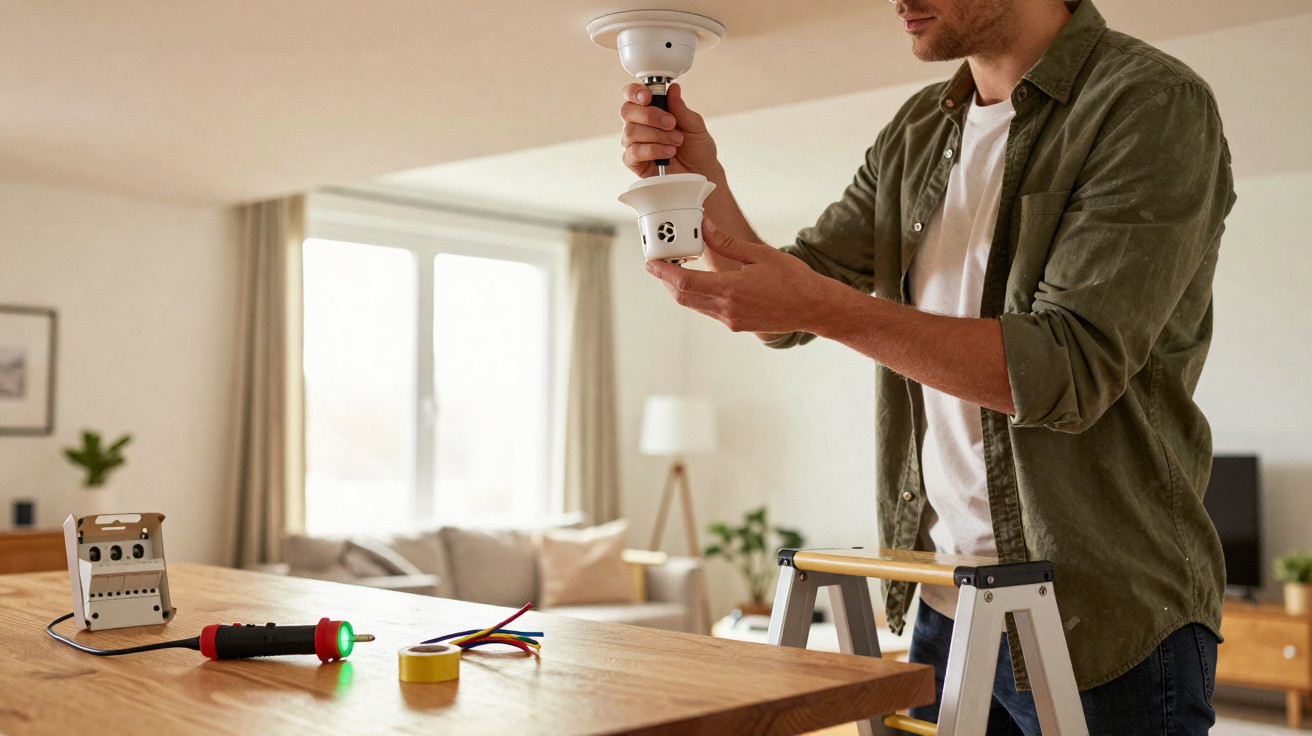
The living room is suddenly in darkness and everyday life comes to a halt – yet the cause is often more mundane than many people assume.
At the first sign of an electrical issue, many people immediately call a professional and face substantial call-out and labour charges. Yet a faulty ceiling lamp holder can usually be replaced yourself within minutes – provided one crucial safety check is carried out first. Following this straightforward routine can save money while also building confidence in your DIY abilities.
Why an electrician gets called out for 15 minutes of work
A completely new consumer unit or rewiring a flat naturally requires qualified professionals. A single lamp holder in the living room, however, is a very small hands-on job. The part costs only a few pounds, and most homes already have the required tools in a drawer.
The typical situation is this: the light will not come on, the bulb is new, but the room remains dark. In many cases, the bulb is not the problem; the lamp holder has failed. Anyone who picks up the phone straight away will often pay for the following:
- An electrician’s call-out charge
- A full hour of labour billed for 10–15 minutes of work
- A markup on materials, despite a lamp holder costing very little from a DIY shop
The final bill can quickly reach £80, £100 or more for a component that costs just £3 to £5 on the shelf. Taking on the task yourself not only avoids waiting around in semi-darkness, but also makes a noticeable difference to your budget.
“The real obstacle is rarely the technical work itself, but fear of electricity – and that is exactly where a clear safety routine helps.”
Avoiding electric shock: the golden three-step rule
Electricity must be treated with respect. No one should work on exposed wiring unless they are completely certain that it is no longer live. The good news is that three fixed steps can virtually eliminate the danger.
A switch is not enough: always isolate power at the consumer unit
Many people rely on the wall light switch. It may seem logical, but it can be risky. In older or poorly installed electrical systems, the switch may interrupt the return conductor rather than the live conductor. Voltage can then still be present at the lamp holder even when the light is switched off.
For this reason, the firm rule is: only work on lighting after turning off the power at the consumer unit.
- Go to the consumer unit.
- Switch off the relevant circuit breaker for the room, or turn off the main switch.
- Make a clear note or mark that work is being carried out on the ceiling fitting.
If you are not sure which circuit breaker serves which room, it is safer to turn off the main switch briefly than to rely on unclear labels.
Check before touching anything: never work without a voltage tester
Even after switching off the circuit at the consumer unit, one question remains: was it definitely the correct breaker? Could the consumer unit have been labelled incorrectly? This is where the most important tool comes in: a voltage tester.
Simple options are sufficient, including:
- A screwdriver with an integrated indicator light
- A non-contact voltage tester pen
- A multimeter or professional voltage tester
Use the tester directly on the contacts of the old lamp holder to check whether voltage is still present. If nothing lights up or beeps, the wires are de-energised and work can begin. Those 30 seconds can make the difference between safe DIY work and a risky guess.
“Without testing for voltage, electricity is always an assumption – with a tester, it becomes certainty.”
Removing the old lamp holder: method beats haste
Once you have confirmed that the power is off, the practical work begins. This stage calls for careful observation and tidy work rather than force or specialist knowledge.
How to stay organised during removal
Before removing the old lamp holder, inspect it closely:
- How many wires emerge from the ceiling?
- What colour is each conductor?
- How are the wires secured inside the holder?
One useful tip is to take a photo with your phone before using a screwdriver. It prevents uncertainty when reconnecting the wiring later.
Then proceed one step at a time:
- Open the lamp holder, which usually consists of two sections.
- Loosen the terminal screws and carefully pull out the wires.
- Remove the lamp holder completely.
It is worth inspecting the copper wire ends. If the strands are blackened, greenish or brittle, cut off a short section and strip the end again. Only bare, clean copper provides a reliable connection and reduces the risk of heat build-up.
Connecting the new lamp holder: matching wire colours correctly
Modern electrical installations follow standard colour conventions. This makes connecting a lamp holder much easier and removes much of the uncertainty.
| Conductor | Typical colour | Function |
|---|---|---|
| Live conductor | brown, black or red | carries voltage to the lamp |
| Neutral conductor | blue | carries current back |
| Earth conductor | green and yellow | safety conductor for fault currents |
Step by step to a correctly fitted lamp holder
The terminals on a new lamp holder are usually clearly identifiable. Proceed as follows:
- If necessary, strip approximately 8–10 millimetres of insulation from the wires.
- Insert the live conductor (brown, black or red) into the designated terminal and tighten it.
- Feed the neutral conductor (blue) into the second terminal and secure it in the same way.
- Connect the earth conductor (green and yellow) if the holder has a terminal for it and an earth conductor is present.
It is important that no bare copper protrudes from the terminal and that the screws are secure without being overtightened. Loose connections can later cause flickering, heat and, in the worst case, scorching damage.
“Taking the time to make clean connections prevents flickering lights and burnt-out lamp holders in the future.”
The moment of truth: power on, light on
Once everything is secure and the lamp holder has been closed again, it is time for the most exciting part: testing it. First screw in a suitable bulb – check the correct fitting size, usually E14 or E27, and observe the lamp holder’s maximum wattage.
Then return to the consumer unit and switch the circuit breaker back on, waiting briefly. If it remains on, there is no short circuit. Go back into the room and press the light switch. If the bulb shines steadily and evenly, the work has been successful.
Greater confidence with small electrical jobs
Anyone who completes these steps carefully and consciously will soon notice that respect for electricity remains, while paralysing fear fades away. Replacing a lamp holder often takes less than a quarter of an hour in practice and brings several benefits:
- You save a considerable amount compared with a service call.
- You reduce the waiting time from days to minutes.
- You gain experience for further small household repairs.
Safe handling of electricity does not begin with complicated installations, but with small projects such as this. Following the rules “isolate – test – connect – test” gives you greater independence in everyday life.
When it is still better to call a professional
Despite how manageable the task can be, there are clear limits to what non-professionals should attempt. Warning signs that call for an electrician include:
- A burning smell or scorched marks on the ceiling or cables
- Crumbling wires, porous insulation or very old fabric-covered wiring
- Several interconnected wires that cannot be identified clearly
- Circuit breakers that trip again immediately even though the lamp holder appears to be fitted correctly
In these cases, there is often a deeper problem within the electrical installation. Replacing the lamp holder alone is no longer enough, and specialist expertise is needed to prevent further damage.
Useful terms and small aids for beginners
Anyone with little previous experience of electrical work can easily stumble over technical terminology. This brief overview makes getting started easier:
- E14/E27 bulb cap: The designation for the size of a bulb’s screw fitting; E27 is larger and more common in ceiling lights.
- Circuit breaker: A modern fuse that can be switched back on using a lever.
- Cartridge fuse/fuse wire: An older type of fuse that blows in the event of an overload and must be replaced.
- Voltage tester: A device or screwdriver that indicates whether voltage is present in a wire.
With a few of these basics and a clear safety routine, looking up at the ceiling no longer needs to feel daunting. A dark light no longer means waiting and paying; instead, it means getting the tools, switching off the circuit, testing, working neatly – and having your home a little more confidently under control.

















Comments
No comments yet. Be the first to comment!
Leave a Comment