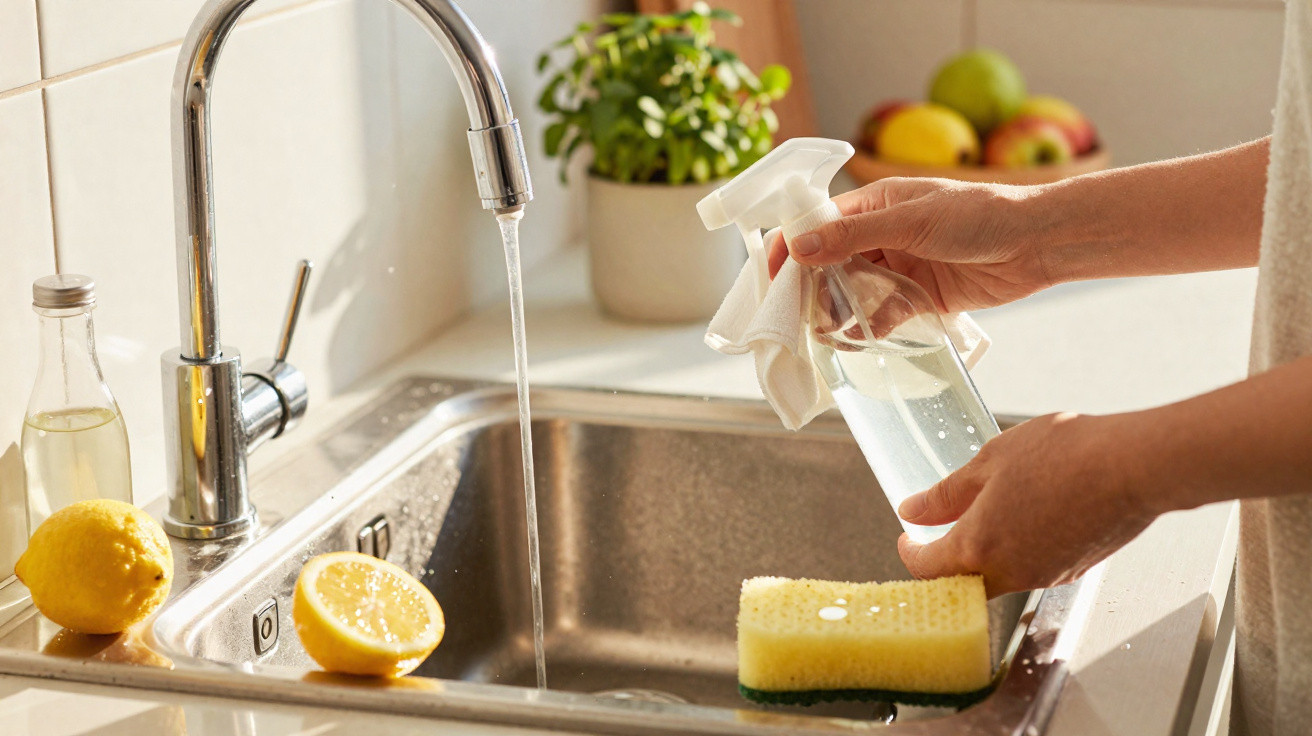
An old kitchen trick makes light work of the problem, with surprisingly little effort.
Many homes face the same issue: no matter which cleaner is kept in the cupboard, white, crusty deposits around the kitchen sink and tap keep returning. A solution that was once commonplace has largely been forgotten: a straightforward blend of kitchen ingredients that our grandmothers already relied on. It dissolves limescale deposits without requiring exhausting scrubbing with a brush.
Why limescale clings so stubbornly to the kitchen sink and tap
The explanation lies in the water itself. In many areas, what comes from the tap is known as “hard water”. It contains high levels of calcium and magnesium. While the water is flowing, this is barely noticeable. The trouble begins when it lands on metal, ceramic or stainless steel and gradually evaporates.
As the water dries, tiny mineral residues remain behind. They crystallise, build up layer upon layer and eventually create the familiar white, rough-looking crust around:
- the base of the tap and its seals
- joins between the sink and the worktop
- the drain and overflow area
- grooves, joints and small recesses
The more often hot water runs, the faster this happens. Heat speeds up crystal formation. This is why a kitchen sink often appears more badly affected than the bathroom basin, even though water splashes there too.
Many people then reach for harsh supermarket descalers. Although these products work quickly, they often contain strongly corrosive ingredients. They can irritate the skin, require good ventilation and may gradually damage sensitive finishes, including brushed stainless steel or copper.
“Anyone looking for a gentle, affordable and effective solution can get surprisingly far with an old household recipe: vinegar, lemon and water – nothing more is needed.”
Grandma’s limescale remedy: vinegar and lemon instead of harsh chemicals
The principle behind this trick is simple and easy to explain scientifically. White household vinegar contains acetic acid, while lemon juice provides citric acid. Both acids react with mineral deposits, breaking the bond between the limescale and the surface.
The key is that the two acids are more effective together than either one on its own. Their slightly different types of acidity target different bonds in the limescale, making the blend particularly efficient.
How to prepare the anti-limescale mixture correctly
For a standard kitchen sink clean, use the following amounts:
- 250 ml white household vinegar
- 250 ml water
- the juice of one medium-sized lemon
Proceed as follows:
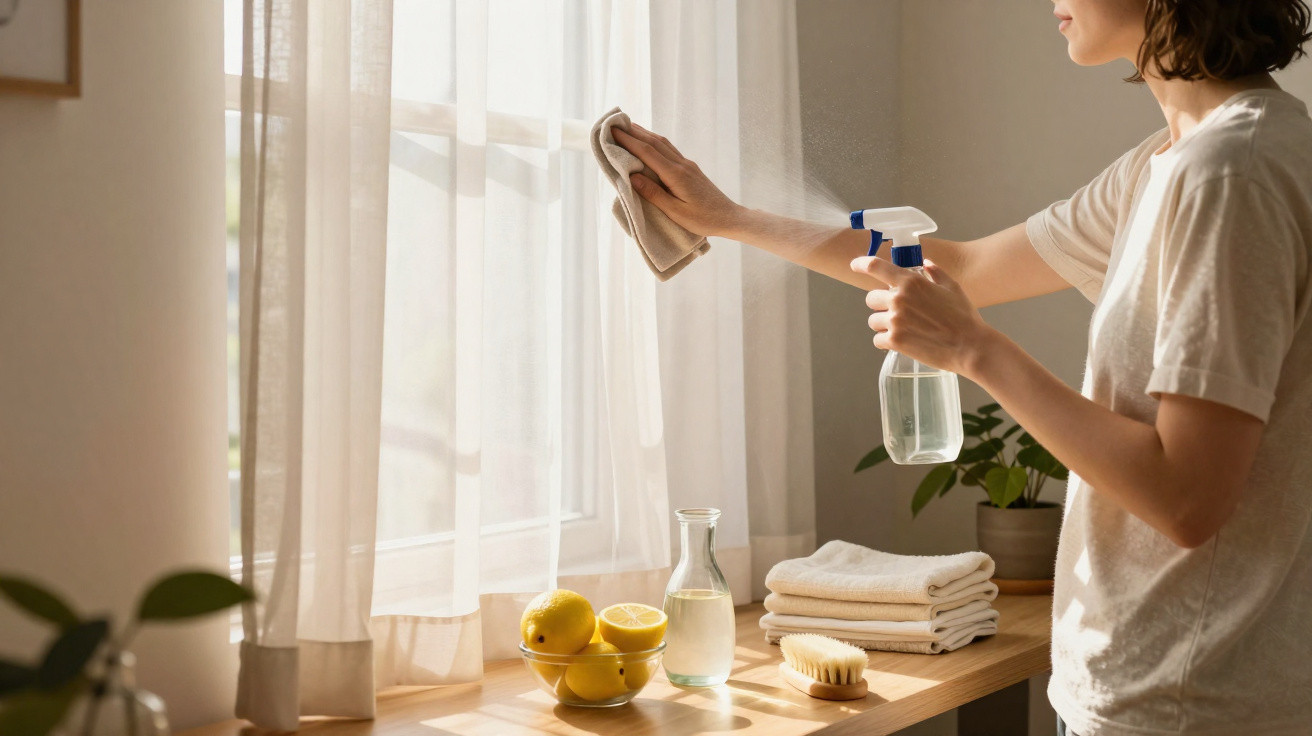
- Pour the vinegar and water into a heatproof container.
- Squeeze the lemon and add its juice.
- Stir everything briefly.
- Warm the mixture in the microwave for around 30 seconds, until it is pleasantly lukewarm.
- Transfer it to a spray bottle.
Warming the mixture is more than a minor detail. A warm liquid reacts more quickly: the acid molecules move more actively and can penetrate the limescale structure more easily. This is what turns a result from “fairly effective” into “wow, that really comes off easily”.
Removing limescale from the kitchen sink without scrubbing
Before using the mixture, the sink should be broadly clean. Wipe away food scraps, grease and crumbs first. Otherwise, the solution will cling to grime rather than reaching the limescale directly, reducing its effectiveness.
A sparkling sink in just a few steps
- Remove any loose dirt from the surfaces.
- Spray the warm vinegar-and-lemon mixture generously over all limescale-covered areas.
- Remember the joints, seals and the area around the tap.
- Leave it to work for at least 20 minutes; for heavy deposits, allow closer to 30 minutes.
- Wipe the surface with a damp microfibre cloth.
In many cases, simply wiping with the cloth is enough, as the limescale comes away in flakes or streaks. For tight gaps around the tap or beneath the fixture, an old soft toothbrush is useful. It allows you to work precisely without scratching the material.
Afterwards, there is one important step that is often overlooked: rinse thoroughly with clean water. If acid remains on a surface for too long, fine dull patches can develop over time, particularly on highly polished chrome.
“After cleaning, always rinse with clean water and rub dry – this protects the surface and prevents fresh water marks.”
Finally, dry everything with a clean cloth. It may sound trivial, but this drying step keeps the shine for noticeably longer because no new drip marks can form.
Keeping the kitchen sink free from limescale over the long term
Anyone who does not want to start the battle against limescale from scratch every time should establish a routine. A short weekly treatment achieves much more than a major clean every few months.
A practical kitchen schedule is:
- once a week: quickly apply the mixture to the sink and tap
- after every wash-up: dry the area roughly, especially around the tap
- every few months: unscrew the tap aerator and descale it separately
These brief treatments prevent thick, hard layers from forming, as they can become very difficult to remove. Those living in an area with very hard water can also consider a simple water filter or a small water-softening system. This lowers the mineral content and, in the long run, also protects the dishwasher, kettle and washing machine.
Where the mixture works – and where caution is needed
The vinegar-and-lemon solution is suitable for many materials, but not every one. Here is an overview:
| Material | Suitable? | Note |
|---|---|---|
| Stainless steel sink | Yes | Rinse well and rub dry after a short contact time. |
| Chrome tap | Yes | Do not leave it on for long periods or overnight. |
| Ceramic sink | Usually yes | Test it on an inconspicuous area first. |
| Natural stone (marble, limestone) | No | Acid can permanently etch the stone. |
| Sensitive specialist coatings | Only after testing | Follow the manufacturer’s instructions and try it on a small area first. |
Particular restraint is needed with natural-stone worktops. Acid attacks not only the limescale there, but the material itself. If there is any uncertainty, always test the solution on a concealed spot first.
Why natural remedies are often the better choice
The mixture’s three ingredients offer several benefits: they are inexpensive, available in almost every kitchen and readily biodegradable. Nothing goes down the drain that needs special disposal. At the same time, they are gentler on taps and fittings, provided that the contact time and material are taken into account.
There is another advantage: the mixture does not have the sharp, pungent smell of some industrial descalers. Vinegar does have a noticeable scent, but the lemon juice softens it, and it fades fairly quickly after rinsing.
Practical everyday tips
Those who use this trick regularly soon develop a few small routines. Practical examples include:
- Keep the spray bottle near the sink and use it briefly after a long cooking or washing-up session.
- For heavily scaled areas, lay kitchen roll over the surface, spray the mixture on top and leave the paper in place as an “acid compress”.
- Place the tap aerator in a glass containing the warm solution – after 30 minutes, the water flow is usually even again.
For a more pleasant fragrance, you can add one or two drops of essential oil, such as lemon or lavender, to the cold mixture. This barely changes its effect on limescale, but can make cleaning feel more enjoyable.
Even this household remedy will not keep everything free from limescale without any effort. However, anyone who incorporates the short contact time of the vinegar-and-lemon mixture into their cleaning routine gains two things: taps that look as good as new, and the satisfying feeling of achieving it without harsh chemicals.








Comments
No comments yet. Be the first to comment!
Leave a Comment