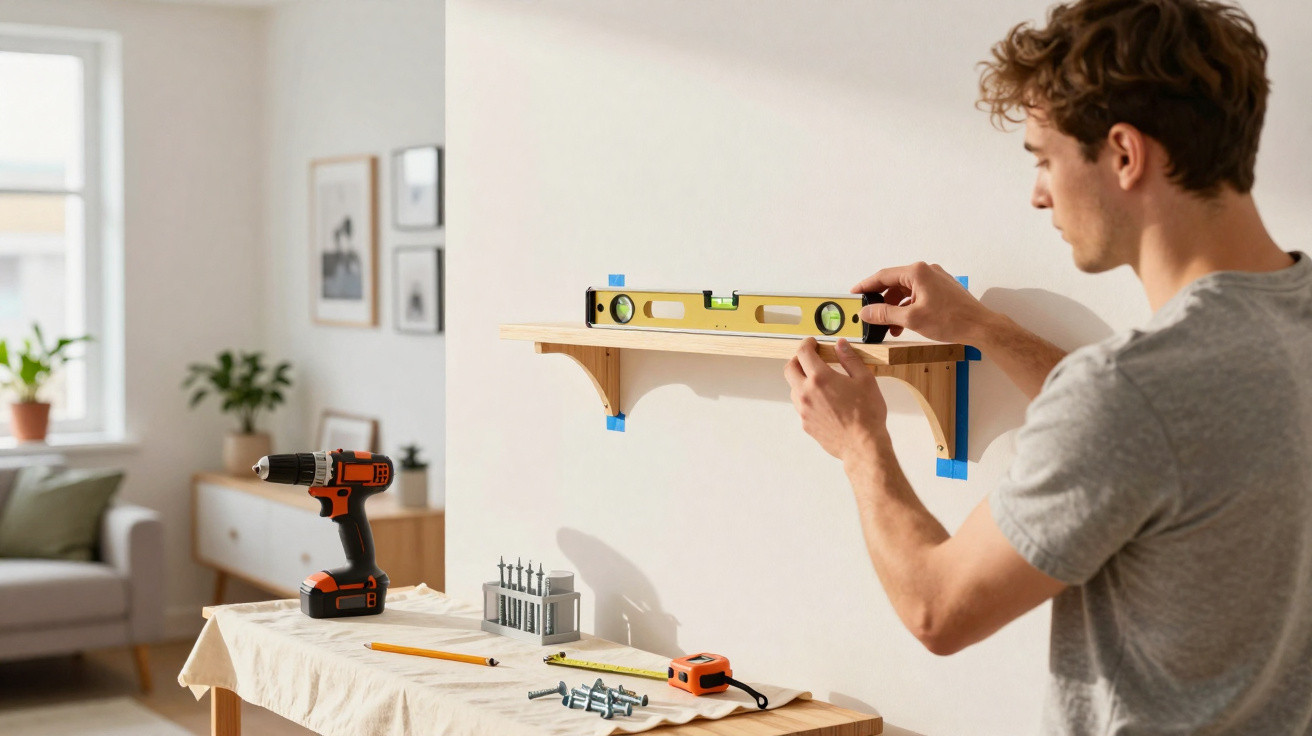
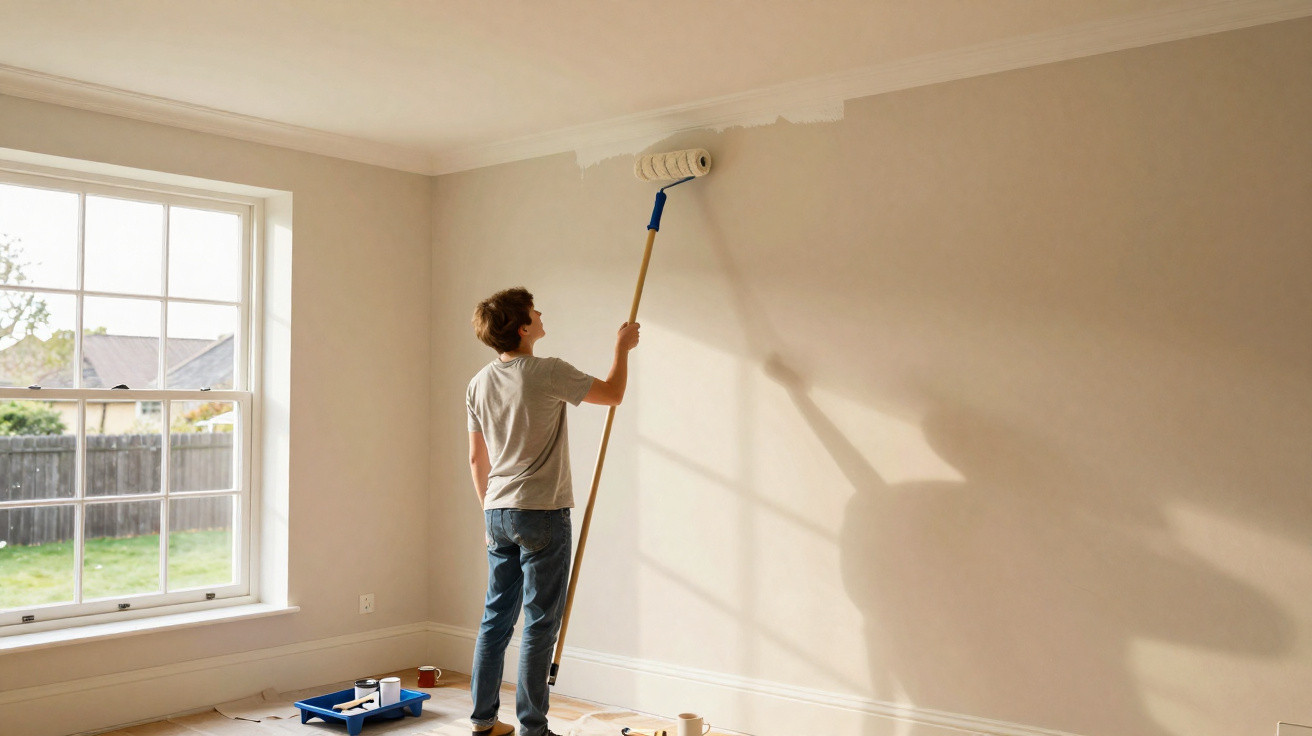
The first hole drilled into a wall is rarely perfectly straight, the first silicone seal is seldom neat, and the first shelf often ends up leaning slightly. Yet there is not a huge gap between improvised Sunday DIY and a result that looks as though it was done by a tradesperson: it mostly comes down to a few straightforward habits. They prevent crooked screws, paint bleeding onto the ceiling and that familiar frustration of inspecting your work a little too closely.
On a Saturday morning, faced with a loose skirting board or a coat hook that has sat in its packet for three months, many people decide they will “do it quickly”. That is usually when problems begin: you hunt for a screwdriver, measure with a warped ruler, then realise too late that the wall is not what you expected. Tidy DIY does not require a hidden talent, only a little composure and the right actions at the right time. The finished result can genuinely be surprising.
A professional-looking finish starts before the first drill hole
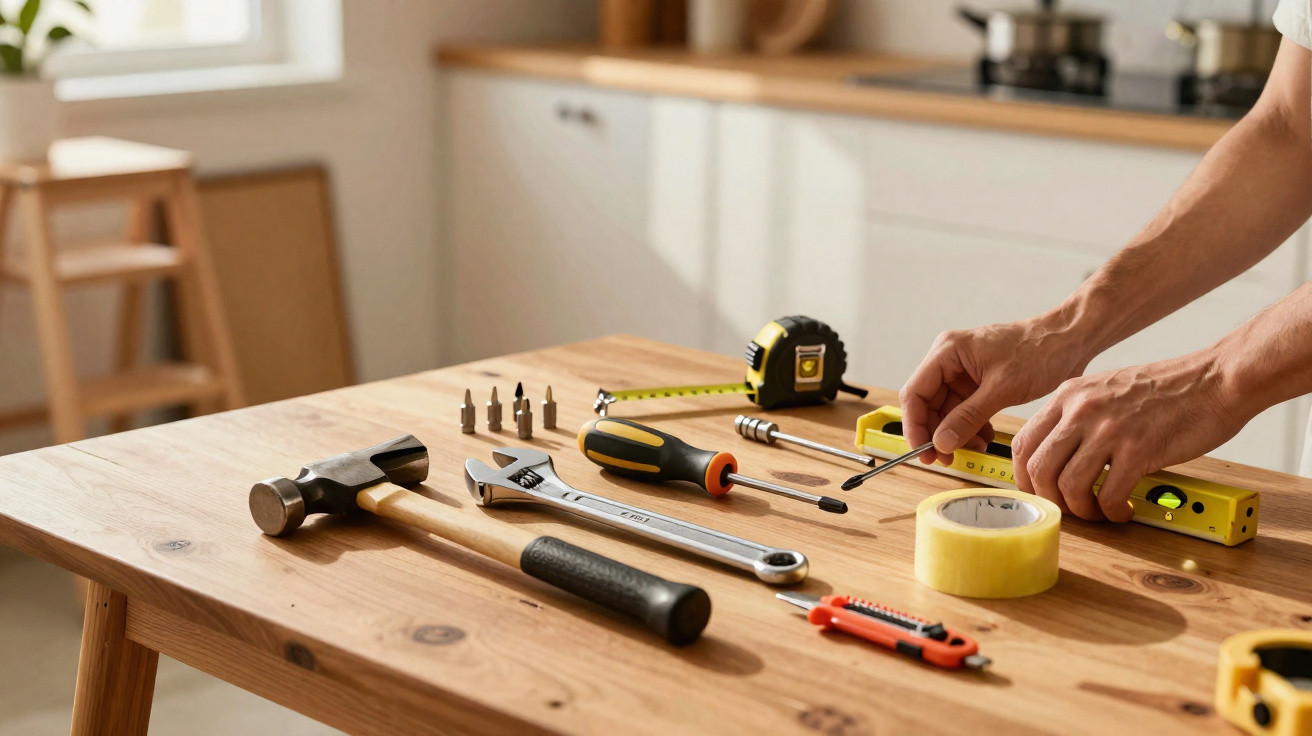
Careful DIY is often decided in the ten minutes before you begin. The difference is clear when someone lays out their tools on cardboard, covers the floor and checks their markings twice, rather than rushing in with a screw between their teeth. This small routine may seem ordinary, but it removes much of the stress. A tidy work area already makes a job feel half finished.
For something as simple as putting up a shelf, take a moment to clear away nearby items, spread an old sheet over the floor and set out a container for the screws. Using a drill for five minutes can create a surprising amount of dust, especially with crumbly walls. The detail that makes all the difference? Vacuum immediately after drilling, before you even put the tool away. The room remains liveable, and so do you.
The principle is simple enough: the less time you spend looking for things, the less likely you are to rush. A beginner rarely makes a mistake because they are incapable; they make one because they are trying to make up time they have not actually lost. Getting the equipment ready, reading the wall plug packaging and checking the surface before starting can prevent irreversible errors. Measure twice is not just an old-fashioned saying: it is a habit that saves walls, materials and your mood.
Simple DIY techniques for a neater result straight away
Before you cut, drill, glue or paint, mark out your reference points with a fine pencil. Even if you are in a hurry, avoid using a marker pen: a discreet line is easy to erase, whereas a thick mark can show through two coats of paint. Use a spirit level, even for a small fitting. A shelf may appear level to the naked eye, but once it is loaded with books, its flaw suddenly becomes obvious.
A common mistake is buying the cheapest materials without considering their intended use. A universal wall plug is not magic, and a worn blade will never make a clean cut, however much goodwill you apply. Let us be honest: nobody reads every instruction leaflet all the time. Still, spending two minutes on the label of a paint tin or glue tube can prevent you having to redo the job the next day.
When doubt creeps in, it is better to stop for five minutes than force the next step. Good DIY is not defined by speed, but by the reassuring sense that no detail has been left to chance.
“A clean action is not one that looks spectacular: it is one that leaves the fewest marks behind.”
- Protect adjacent areas with masking tape.
- Keep a slightly damp cloth within reach.
- Wipe away excess glue or filler before it dries.
- Store screws and small parts in a sturdy container.
Finishing touches: the stage beginners skip too often
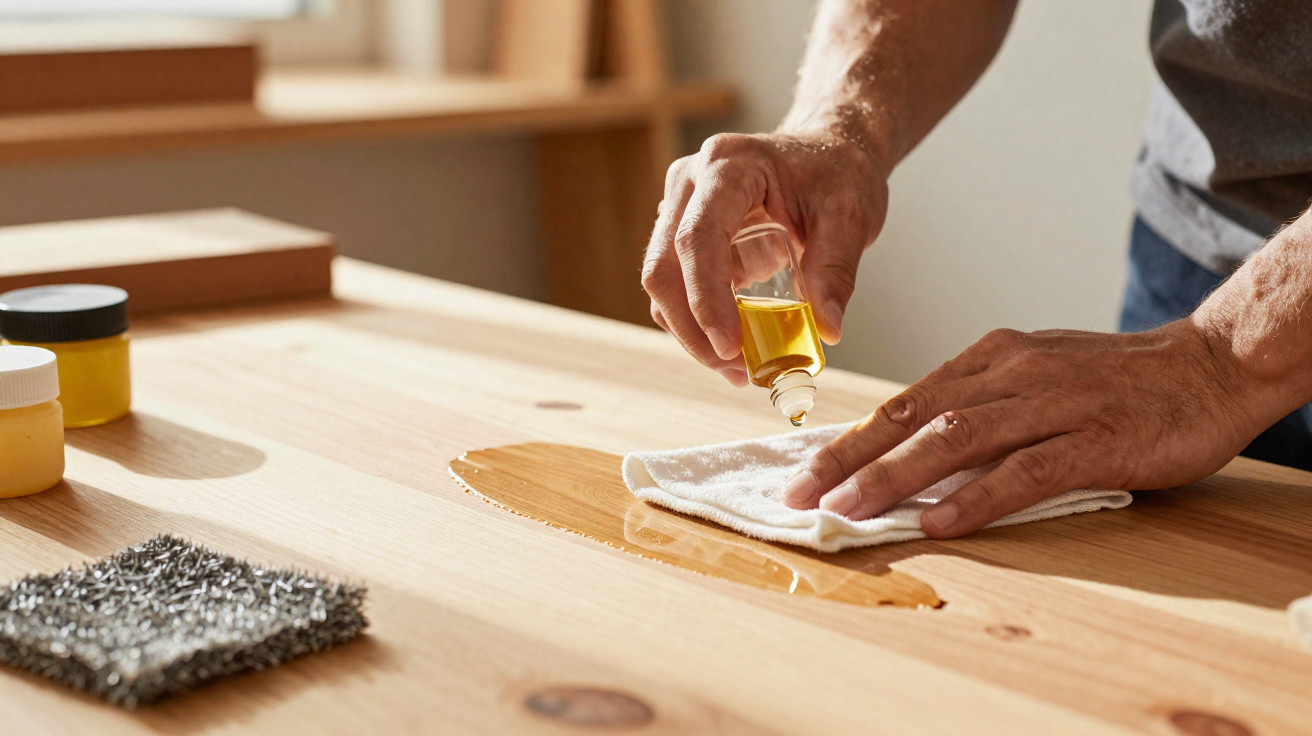
The job can seem complete once the fitting holds firm or the paint finally covers the wall. However, it is the finishing stage that takes a result from “acceptable” to genuinely tidy. A light sanding, a painted edge touched up with a small brush, or a screw lined up with the others: these details can take as little as ten minutes. Even visitors who do not do DIY notice them immediately.
Patience matters greatly at this point. Filler must dry before it is sanded, paint needs time before the second coat, and silicone should not be touched too soon. Waiting is not particularly exciting, especially when you want to put the room back in order. Yet it is often what separates a repair that lasts six months from a finish that stays attractive for years.
Before putting everything away, photograph your work from a little distance. This can reveal a missed mark, an imperfect corner or a line that needs one final touch-up. It also helps you see how far you have come. Your first shelf may not have the precision of a joiner’s work, but it will be yours, fitted level thanks to a clear method and a few good habits.
Tidy DIY also builds confidence at home
Successfully carrying out a small repair is something very tangible: the door closes more smoothly, the frame no longer shifts, and the leak beneath the sink finally stops punctuating the night. Little by little, the home feels less mysterious. You begin to see that a wall, handle or skirting board does not necessarily demand inaccessible expertise, merely genuine care and permission to try again.
There will always be a small imperfection, especially at first. It might be a slightly less clean cut, a shade that changes with the light or a seal that could have been more even. That is not a problem. The real luxury in a home is not pretending that nothing has ever been touched; it is knowing that things have been repaired carefully, without haste and without sweeping mistakes under the carpet.
The next time something comes loose or a wall needs touching up, it may be worth slowing down just enough to prepare the space, select the proper tool and give the materials time to do their job. The most useful DIY tips are often shared by neighbours, friends or family: an effective brand of tape, a way to avoid dust, or a tool that changed everything. These small pieces of knowledge are easily passed on.
| Key point | Detail | Added value for the reader |
|---|---|---|
| Prepare the area | Cover the floor, gather the tools and clear the space | Less stress, less damage and a smoother job |
| Mark out before acting | Use a fine pencil, a spirit level and a reliable tape measure | Level fittings and more precise cuts |
| Take care over finishing | Sand, clean and allow drying time without rushing | A result that visually comes close to professional work |









Comments
No comments yet. Be the first to comment!
Leave a Comment