Damp patches, peeling paint and a musty smell: in many homes, these have become everyday problems – yet the cause often remains unclear.
Ignoring damp walls can eventually lead to mould, higher heating bills and costly repairs. Before calling in tradespeople or using drying equipment, a straightforward aluminium foil test can provide a surprisingly useful indication of whether the moisture is coming from outdoors or from inside the home.
What the aluminium foil trick actually reveals
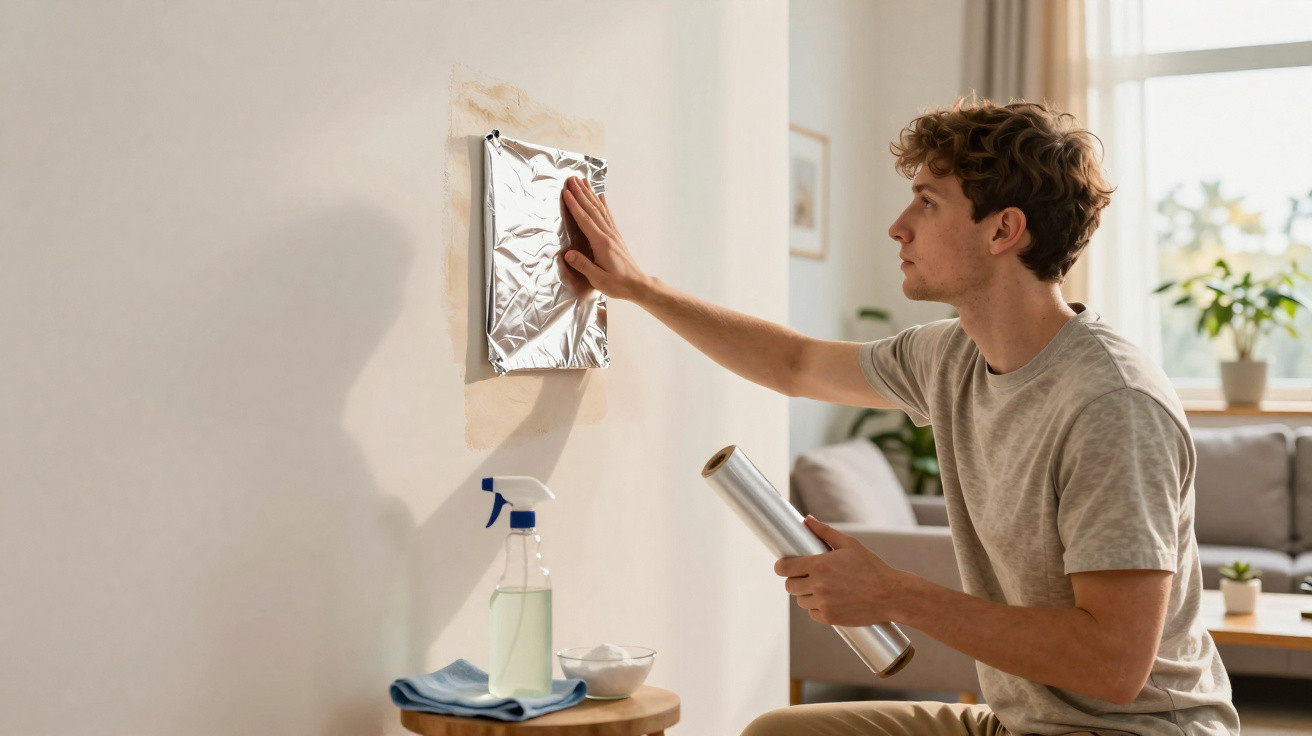
Sticking aluminium foil to a wall may initially sound like an internet myth. In reality, building professionals and surveyors use very similar techniques to assess moisture. The foil does not fix any damage; instead, it functions as a small monitoring station.
Aluminium foil does not dry the wall; it helps you understand whether the moisture is coming from the wall or the indoor air.
The test will not remove the need for repairs, but it can stop you tackling the wrong issue. Ventilating will not solve a leaking pipe, just as expensive exterior waterproofing will not help if the issue is simply condensation.
Aluminium foil test: how to do it step by step
You need only items that are found in most households:
- a piece of aluminium foil
- wide adhesive tape or masking tape
- scissors
- patience for 24 to 48 hours
1. Choose a suspect area
Pick a section where signs of moisture are already visible or seem likely:
- dark or yellowish patches on the wall
- flaking or rippled paint
- a musty or stale smell in the room
- a cold, slightly clammy wall surface compared with other walls
Problems also frequently develop behind cupboards placed directly against external walls. Moving furniture away briefly often reveals the first signs there.
2. Cut and attach the aluminium foil
Cut a piece of foil slightly larger than the area you suspect. Then attach it to the wall:
- Position the dull side of the foil against the wall, although this is not essential.
- Press the foil directly onto the dry wall.
- Seal all edges completely with tape, leaving no gaps.
- Keep the foil as smooth and taut as possible, with no creases or tears.
This creates a small chamber that separates the wall surface from the room climate. Important: no air must be able to pass beneath the foil, as this would distort the result.
3. Wait 24 to 48 hours
Leave the foil on the wall for at least one day, ideally two. During that time, continue your usual routine at home: cook, shower, heat and ventilate as normal.
If you want to monitor it in the meantime, look at the outer side of the foil occasionally. However, its condition when you remove it is what matters.
Reading the result: identifying the source of damp
After no more than 48 hours, carefully remove the tape and peel away the foil. The key question is: where are the droplets?
Moisture on the wall side: the problem is coming from outside
If there is water, dampness or condensation on the inner side of the foil – the side that was directly against the wall – this points to a structural or technical issue.
If the wall-facing side of the foil is wet, moisture is usually entering the wall from outside or from within the building structure.
Possible causes include:
- leaking roof coverings or damaged gutters
- cracks in the external render or façade
- rising damp from the ground, especially on the ground floor or in a basement
- faulty water pipes or heating pipes inside the wall
- missing or damaged waterproofing within the masonry
In these cases, ventilation and dehumidifiers are generally not enough. Specialist help will be needed in the medium term: a plumber, roofer or building surveyor, depending on the suspected cause.
Moisture on the outer side of the foil: the room climate is the issue
If droplets or a damp film form on the outer side of the aluminium foil, where it has contact with the room air, the wall itself is often watertight. The issue is more likely to be excessive moisture in the room.
Common reasons for high humidity include:
- drying laundry indoors
- frequent cooking without an extractor venting outdoors
- long, hot showers without airing the room afterwards
- windows kept permanently shut in well-insulated buildings
- many people or plants in small rooms
Changes in daily habits will usually help more quickly here than expensive refurbishment: air rooms more often with windows fully open, dry laundry elsewhere, install an extractor, and replace leaving bedroom windows tilted open overnight with short, full ventilation sessions.
Removing damp patches quickly: vinegar and bicarbonate of soda home remedy
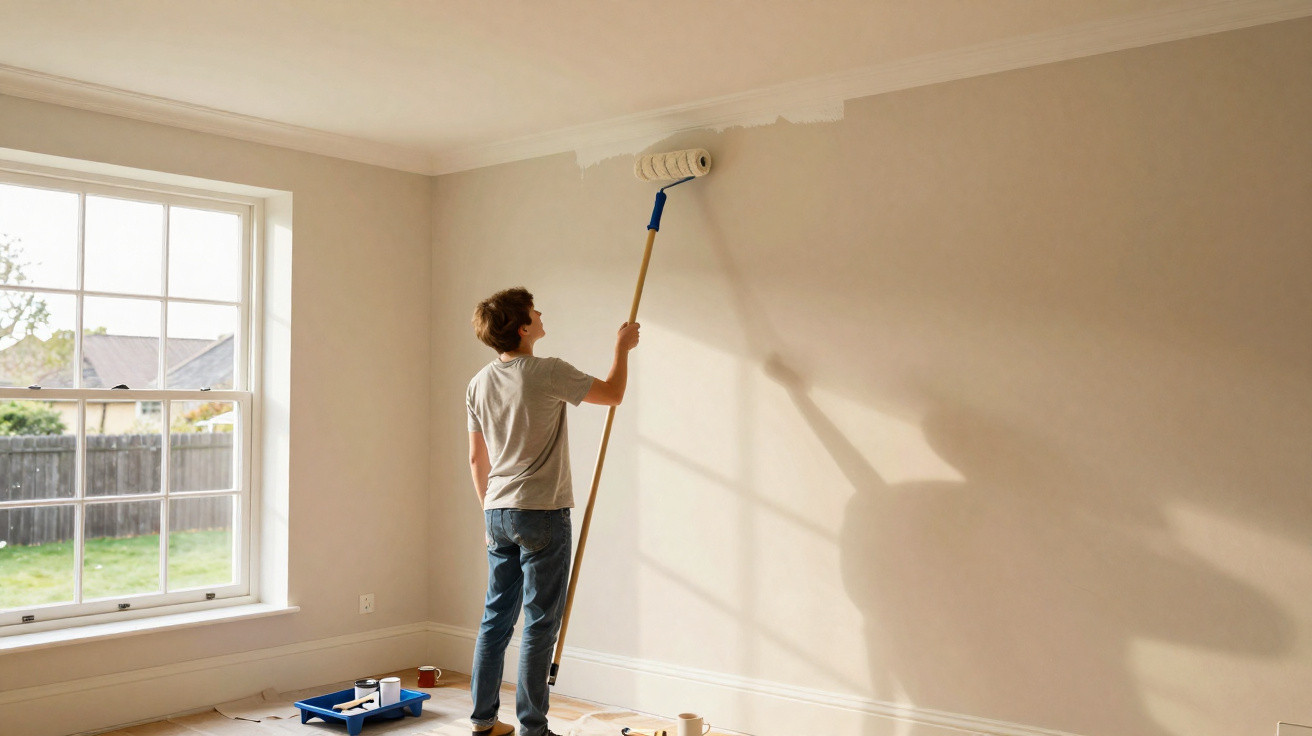
Once the cause has been identified, or at least narrowed down, the appearance of the marks still remains. Grey or dark damp patches quickly make pale walls look neglected. Before repainting, you can try a simple mixture of white vinegar and bicarbonate of soda.
Recipe for stains and odours
You will need:
- white household vinegar
- bicarbonate of soda
- a spray bottle or small bowl
- a sponge or soft cloth
- a dry cotton cloth for drying afterwards
Proceed as follows:
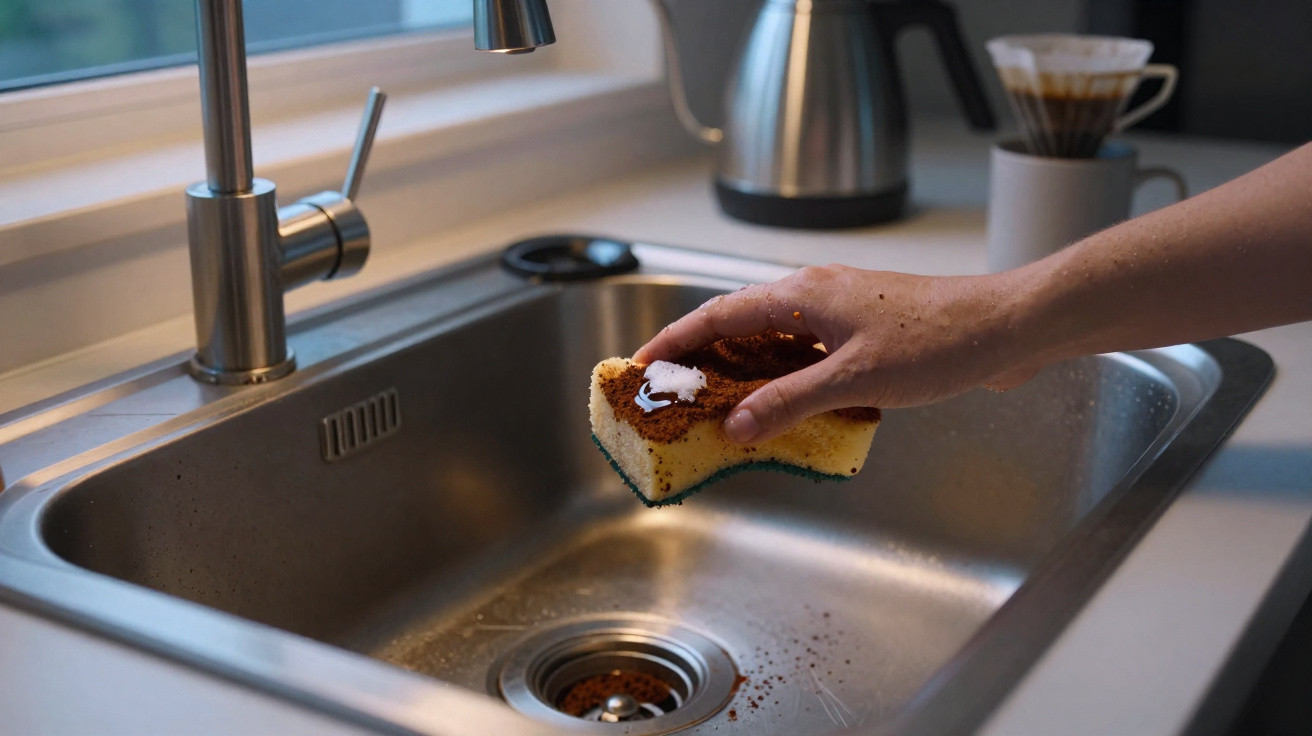
- Pour the vinegar into a bowl or spray bottle.
- Stir in one to two teaspoons of bicarbonate of soda; it may fizz briefly.
- Spray the mixture onto affected areas or apply it with a sponge.
- Leave it for 30 to 60 minutes without rubbing it.
- Then gently rub the patch with a soft cloth.
- Finally, wipe the area dry and air the room.
Vinegar works against many fungi and bacteria, while bicarbonate of soda absorbs odours and loosens dirt – making this a powerful combination for superficial damp patches.
Important: this mixture is better suited to washable paint and tiles. With delicate plaster or limewash, test it first on an inconspicuous area.
When home remedies are no longer enough
If patches remain after cleaning or return soon afterwards, there is usually more involved than a little condensation. It is then worth taking a closer look:
- Are there cracks in the plaster or grout above the damp patch?
- Is the affected wall next to a bathroom or kitchen?
- Could a heating or water pipe run through the area of the patch?
- Do the problems occur more often after heavy rain?
In such situations, a specialist company should check that the pipes and waterproofing are sound. Simply painting over the issue only postpones it and risks harmful mould growth.
Why damp is more than a cosmetic issue
Damp walls do not only damage wallpaper and plaster; they also alter the indoor climate. Mould spores can spread more easily, particularly in poorly ventilated corners. People with allergies or respiratory problems may quickly develop coughing, irritated eyes or headaches.
In addition, wet building materials conduct heat outwards more effectively. The wall feels cold, you turn up the heating, and more energy is lost. This will eventually show up on your heating bill.
Practical ways to prevent new damp damage
After carrying out the aluminium foil test and an initial clean, there are several everyday adjustments that can help:
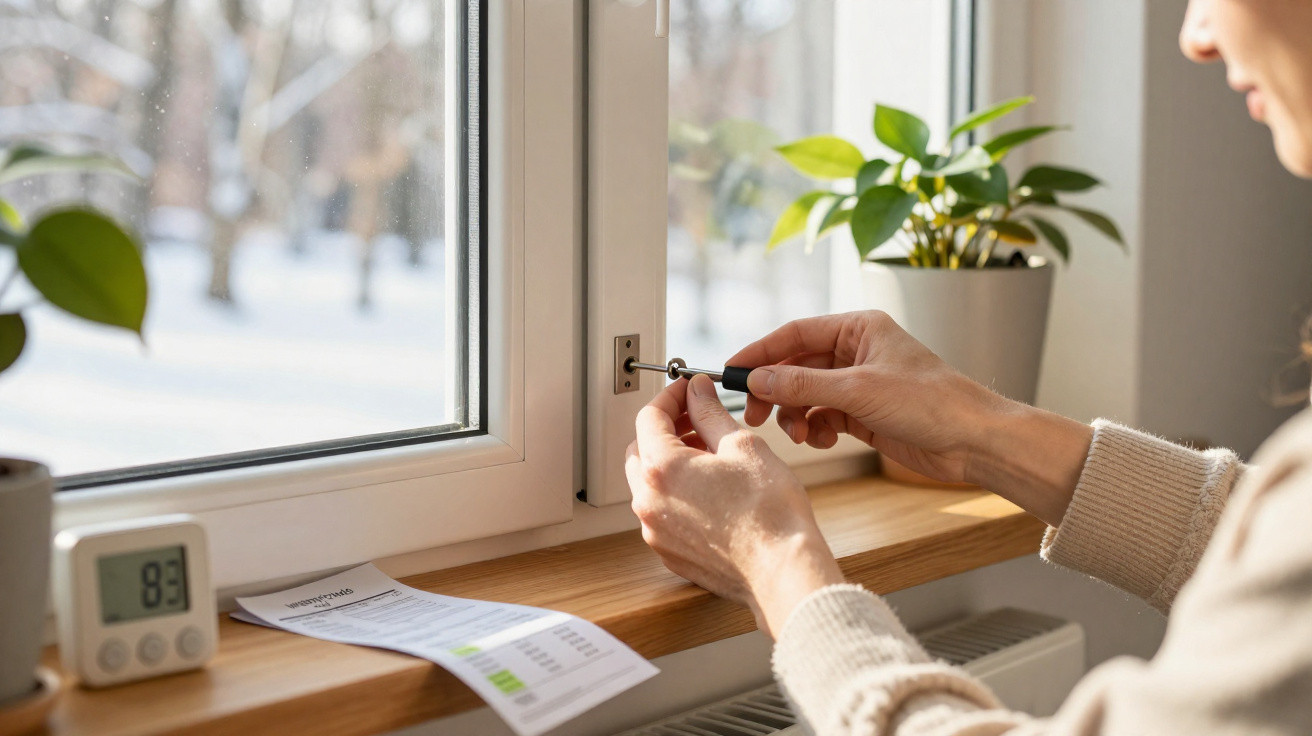
- Use short, intensive ventilation rather than leaving windows tilted open: open windows fully for 5–10 minutes several times daily.
- Pull furniture a few centimetres away from external walls so air can circulate.
- Dry laundry outdoors where possible, or in well-ventilated rooms.
- Use lids while cooking and switch on an extractor that vents outdoors, if available.
- Open a window immediately after showering or run the extractor fan.
- Buy a hygrometer: humidity of 40–60 percent is considered a good range in living spaces.
The small aluminium foil test provides the basis for this: it shows whether you mainly need to change your ventilation habits or whether a more significant structural issue may be hidden beneath the plaster. Acting early often saves considerable stress – and money.






Comments
No comments yet. Be the first to comment!
Leave a Comment