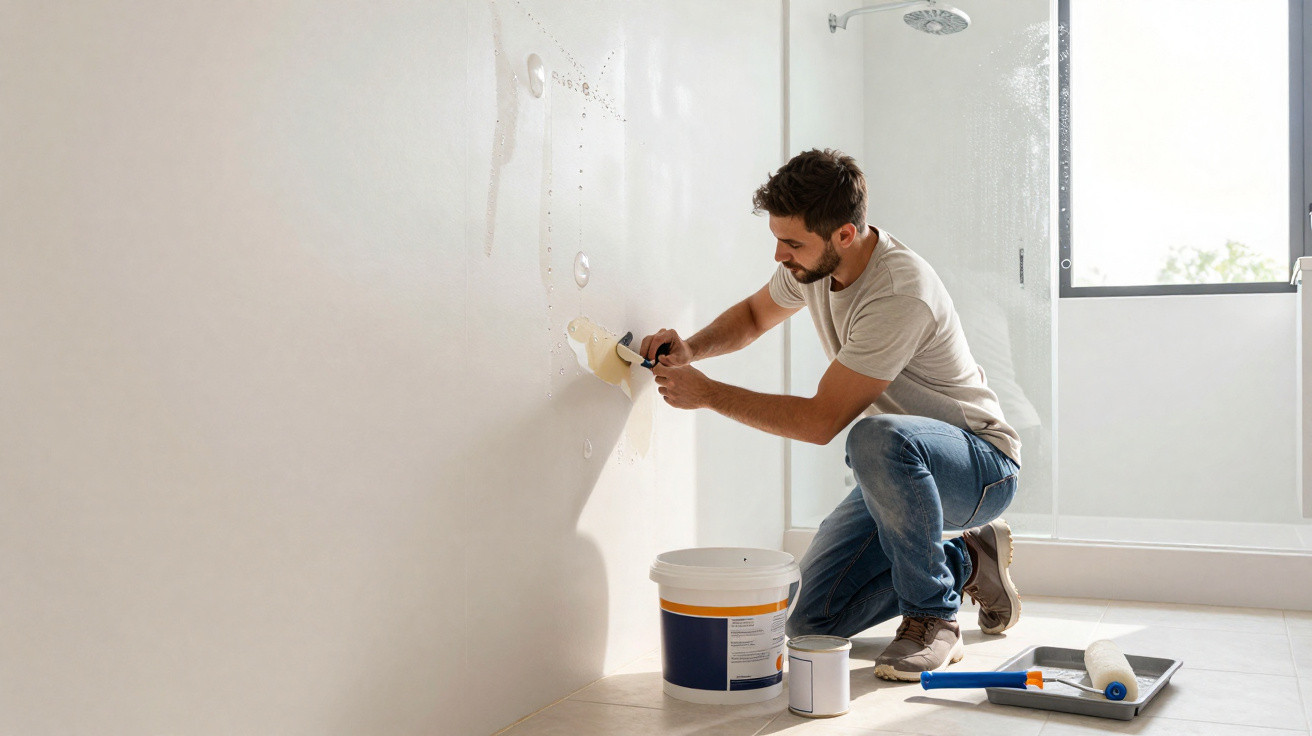
Many DIY enthusiasts experience exactly this: for the first few months, a newly painted bathroom looks as though it belongs in a catalogue, but then blisters, cracks and stains suddenly begin to appear. What seemed like a successful DIY job is often undermined by a fundamental mistake involving the paint, preparation or moisture protection.
How a dream bathroom becomes a visual disaster
Everything looks flawless at first
The beginning is nearly always the same: a fresh shade is meant to make the bathroom brighter and more contemporary. The roller moves smoothly across the wall, the coverage is even, the surface looks flat and the room feels transformed. For the first few weeks there are no issues; the shower is used as normal and no one suspects a problem.
Many people choose inexpensive emulsion paint from a DIY shop, sometimes even a product specifically intended for dry living spaces. Initially, it appears to do the job. The paint dries quickly, provides decent coverage, and there seems to be little difference between it and specialist bathroom paint - at least in the beginning.
The real damage only becomes visible months later, once moisture has quietly done its work.
What is often overlooked during painting is that a bathroom is an extreme environment. Every shower briefly pushes humidity to levels more commonly associated with tropical conservatories. That is where the trouble starts.
The unpleasant surprise arrives after 6 to 18 months
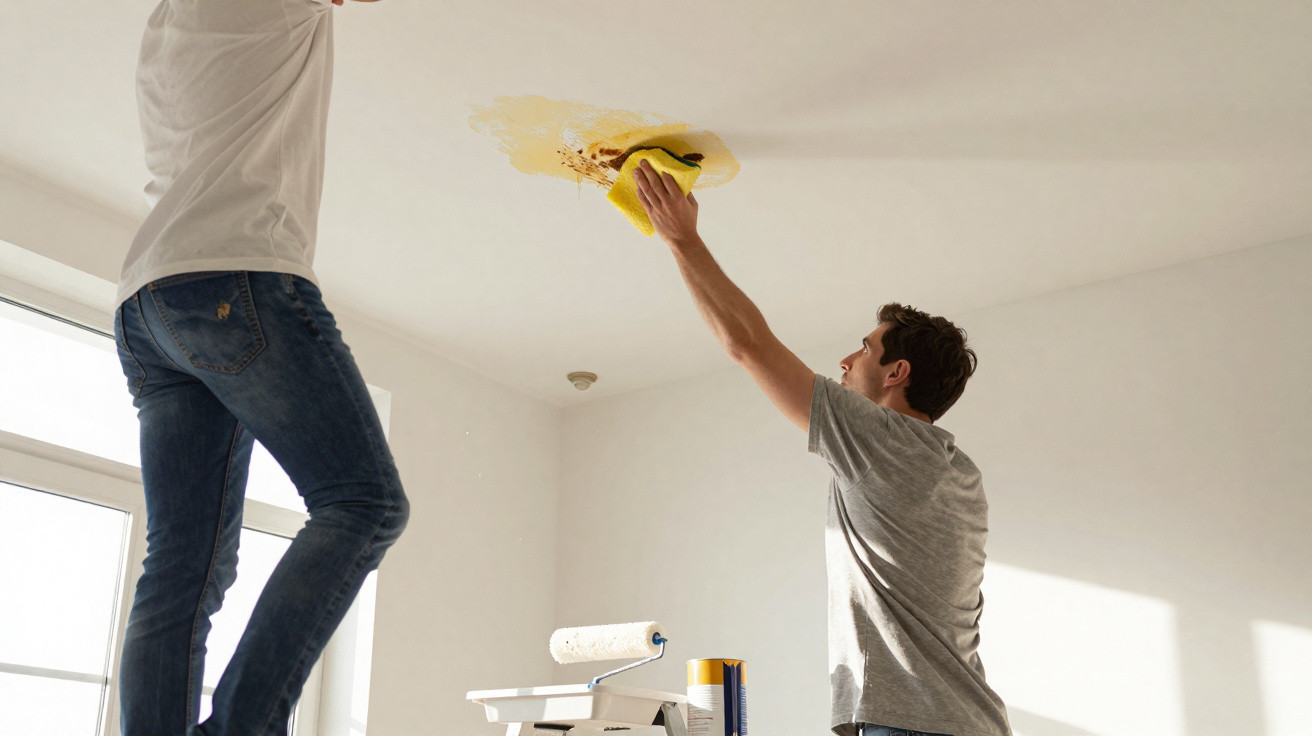
Between six months and a year and a half after decorating, reality catches up. Unsightly bubbles and blisters can suddenly develop in particular areas of the paintwork. At first they are small patches, but they then spread.
The areas most commonly affected are:
- the ceiling directly above or close to the shower;
- wall surfaces opposite or beside the shower area;
- corners with poor air circulation.
In these spots, humidity can rapidly rise above 80 per cent. Ordinary emulsion paint without a specialist moisture-resistant formulation simply cannot cope with this. Moisture then makes its way behind the coating, adhesion weakens, the paint swells, partly flakes away and falls to the floor in pieces.
What actually causes paint blisters in bathrooms
Why ordinary wall paint has little chance in a bathroom
The cause is not “poor painting work”, but physics and chemistry. Every shower creates a cloud of hot water vapour. This humid air finds every tiny weak point in the paint layer and wall structure.
Once moisture gets behind the paint film, it pushes against it from the rear. The binders in unsuitable paint swell, detach from the substrate and create voids. Eventually, the paint layer is only loosely attached to the wall, until it splits or comes away in large patches.
Blisters and flaking nearly always show that the paint was not suited to the demands of the room.
Simply painting over the affected area without tackling the cause will only make matters worse. The new layer is adhering to an already damaged surface - and often lasts only a few months.
Standards and labels: how to identify bathroom-suitable paint
Reputable manufacturers label their products in line with clear technical requirements. Interior paints are covered by a standard that sets out classes for resistance to wet scrubbing and moisture. The key point is that the paint is expressly approved for humid rooms or bathrooms and has a high resistance rating for water and water vapour.
Typical features of suitable products include:
- labelled “for bathroom / kitchen” or “for humid rooms”;
- a high wet-scrub class and scrub resistance;
- often acrylic- or alkyd-resin based, with some products containing solvents;
- a clear statement of resistance to water vapour.
Anyone focusing only on colour, price and coverage can easily miss these details. That decision comes back to bite later, with twice as much work.
How to repair a damaged bathroom
Step one: remove loose paint and stabilise the substrate
Before considering a fresh coat, the old damaged finish must be removed completely. Blisters, hollow patches and flaking sections should be scraped or brushed away. This often leaves a fairly uneven substrate behind.
Depending on the type of damage, the following steps are advisable:
- Remove loose material: Anything that is not firmly bonded must come off.
- Allow the substrate to dry: Several days without showering, or with effective ventilation, can make a major difference.
- Fill uneven areas: Specialist filler for humid rooms restores a smooth surface.
- Remove dust: The wall must be clean and dry before applying the next product.
Why specialist primer is essential
On bare, filled or damaged surfaces, a suitable primer provides the foundation for a durable paint finish. In bathrooms, primers that block moisture and improve adhesion are particularly appropriate.
Without the right primer, even the best bathroom paint is working on an unstable foundation.
The primer should “saturate” the substrate by filling its pores, preventing moisture from penetrating uncontrollably behind the paint layer. This is especially important on plasterboard walls and worn plaster, where this step can mean the difference between a finish lasting a few months or many years.
Only then: apply the correct bathroom paint in two coats
Once the primer has dried fully, it is time for the bathroom paint itself. Plan for two coats and allow sufficient time between them. Many manufacturers specify at least 24 hours of drying time between coats.
A proven method is:
- Apply the first coat thinly and evenly.
- Leave it to dry for at least one day at the lowest possible humidity.
- Roll the second coat at right angles to the first to cover small missed areas.
This “cross-rolling technique” helps seal even small pores and indentations, producing a dense, hard-wearing film.
Even the best bathroom paint has limits without good ventilation
Why bathroom humidity matters
Paints and primers offer considerable protection, but not unlimited protection. If humidity remains at tropical levels for extended periods, even high-quality products eventually lose their effectiveness. The aim is to remove water vapour from the room as quickly as possible.
The following guide values can be used as a reference:
| Situation | Recommended humidity |
|---|---|
| Normal bathroom use | between 40 and 60 per cent |
| Immediately after showering (briefly) | a maximum of 70 to 75 per cent |
| Prolonged exposure | above 65 per cent is critical |
Anyone measuring humidity above 65 per cent on a permanent basis should consider mechanical ventilation. A simple extractor fan with a humidity sensor can make a substantial difference, especially in internal bathrooms without a window.
What effective ventilation should achieve
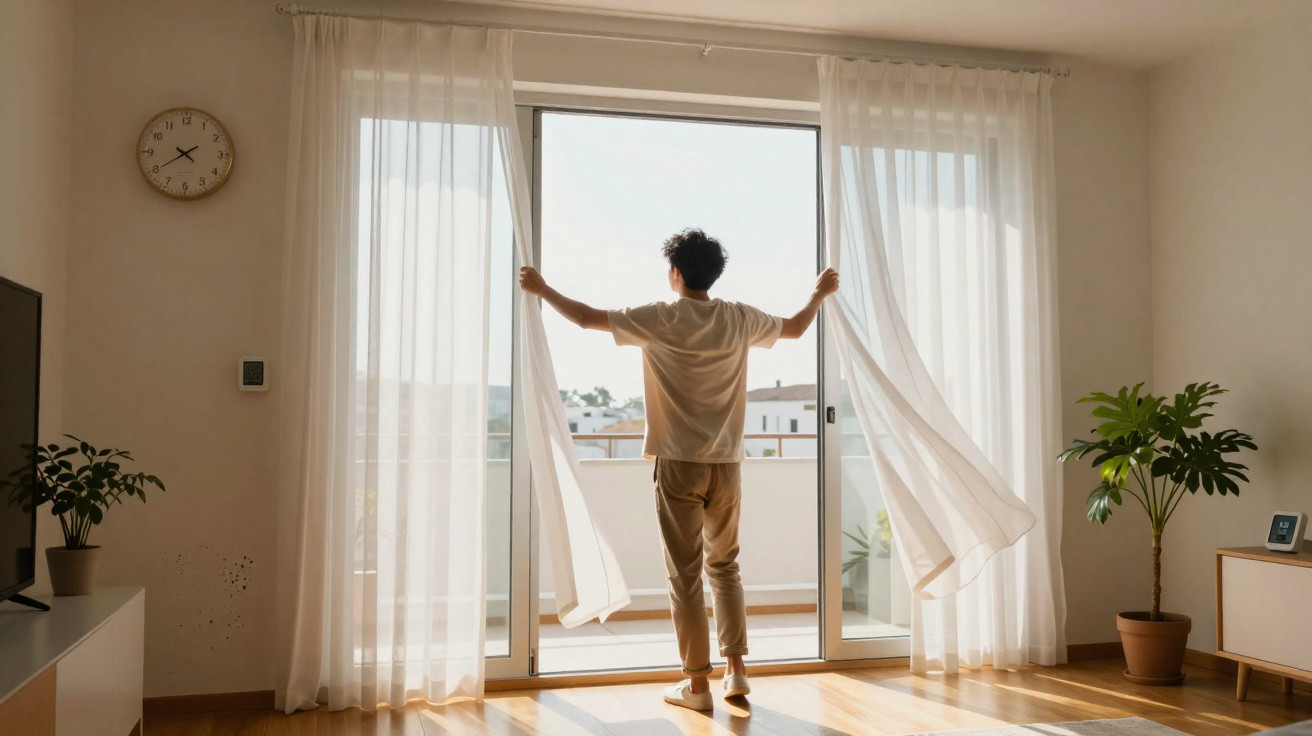
A bathroom extractor fan or a controlled ventilation system ensures humid air is continuously removed. For a standard bathroom, a unit extracting around 30 cubic metres of air per hour will be sufficient in many cases. Crucially, the fan should run not only while showering but for a period afterwards as well.
Anyone who turns off the shower and immediately switches off the fan leaves moisture sitting in the room - and therefore on the walls.
A humidity sensor or overrun timer is more practical: it keeps the fan running automatically until humidity has returned to an acceptable level. In rented homes, it is worth raising the matter with the landlord or managing agent if moisture damage occurs repeatedly.
What DIY enthusiasts can learn from a bathroom decorating failure
Rethink the choice of materials and method
The classic mistake made by many amateur renovators is treating a bathroom like an ordinary living room: the same paint, the same tools and a similar process. In reality, bathrooms, showers and, in some cases, kitchens form their own category with significantly tougher demands.
To avoid problems on future bathroom projects, always check these three points:
- Are the substrate and old paint stable and dry?
- Is there a primer appropriate for the moisture levels in the room?
- Is the chosen paint specifically approved for humid rooms?
Only once all these questions can clearly be answered with yes is it worth picking up the roller.
Keep an eye on typical risk areas
Even in well-prepared bathrooms, certain areas should be inspected regularly:
- ceiling-to-wall junctions close to the shower;
- external corners where condensation gathers;
- areas above tiles, where plaster and paint are heavily stressed.
If fine hairline cracks, dull patches or slightly lifted edges appear early in these locations, prompt localised repairs are worthwhile. Anyone who waits for widespread blistering will usually have to carry out extensive repairs again.
Those who think of their bathroom as a “moisture laboratory” rather than an ordinary living space will make different decisions about paint, ventilation and preparation. It takes a little more time and costs a few extra pounds initially - but avoids the frustration of having to completely redo a supposedly freshly renovated bathroom after a year.





Comments
No comments yet. Be the first to comment!
Leave a Comment