On a Sunday morning, light often catches the shower seals at an angle and exposes what you would rather not notice: tiny black marks, initially faint and then firmly established. You scrub them with an old toothbrush, open the window for ten minutes and promise yourself you will deal with them “soon”. Two weeks later, the marks have returned, almost defiantly. We all know the moment when an otherwise clean bathroom suddenly looks uncared for. The issue is not always a lack of cleaning. More often, it is moisture left trapped in corners once the steam has cleared. That is exactly where the professionals make a difference.
The real culprit is not dirt, but water left behind
In a bathroom, seals seldom turn black because they are not cleaned often enough. They darken because they stay damp for too long, sometimes for several hours after a shower. Silicone, particularly around the shower tray and screens, then becomes the perfect breeding ground for mould: warmth, steam, soap residue and insufficient fresh air are all present.
A bathroom fitter often explains it with a straightforward comparison: a wet seal is like a towel left scrunched up in a gym bag. It may be clean to begin with, but it will eventually smell unpleasant. In a poorly ventilated bathroom, dampness can remain on walls and seals for more than two hours after a hot shower.
What makes the real difference is therefore less dramatic than a miracle product: remove visible water before it dries slowly. Mould does not take hold overnight; it thrives on repetition. One shower a day, a few pooled droplets and a closed door: after several weeks, black spots will almost always appear.
The professional shower-seal tip: squeegee, dry, then ventilate
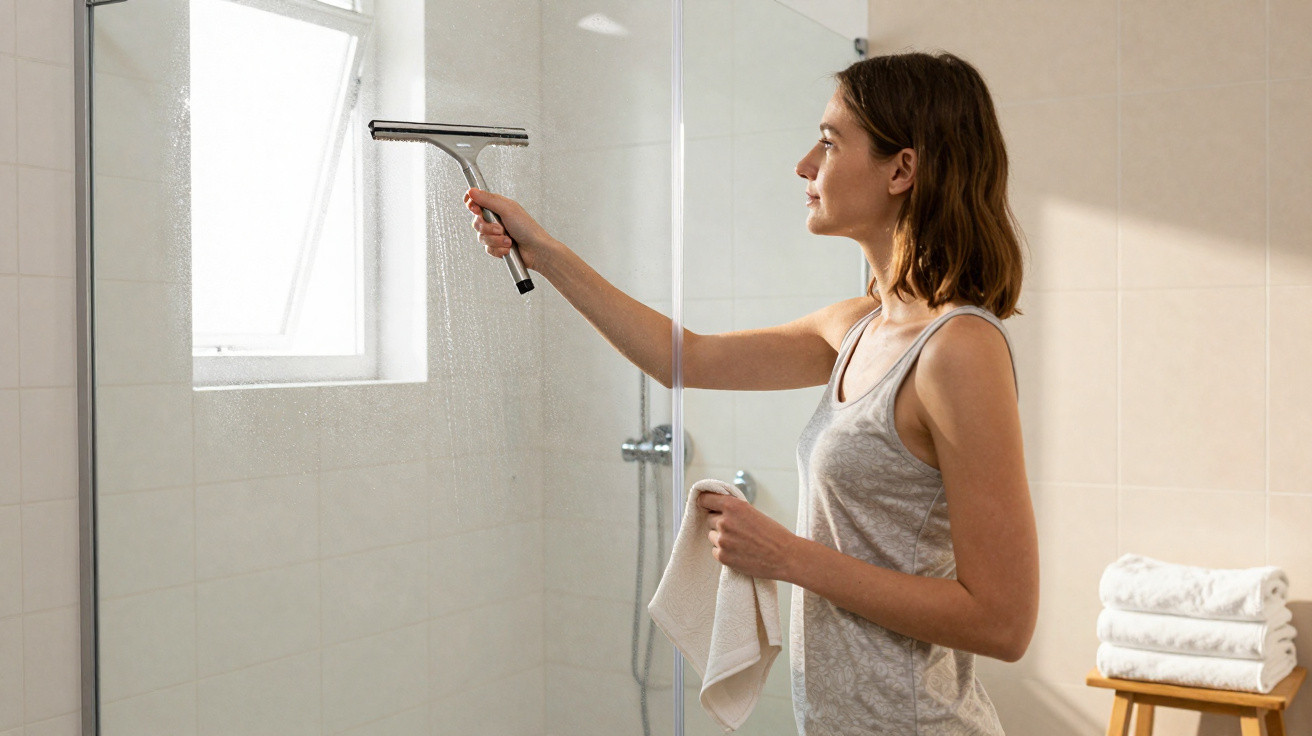
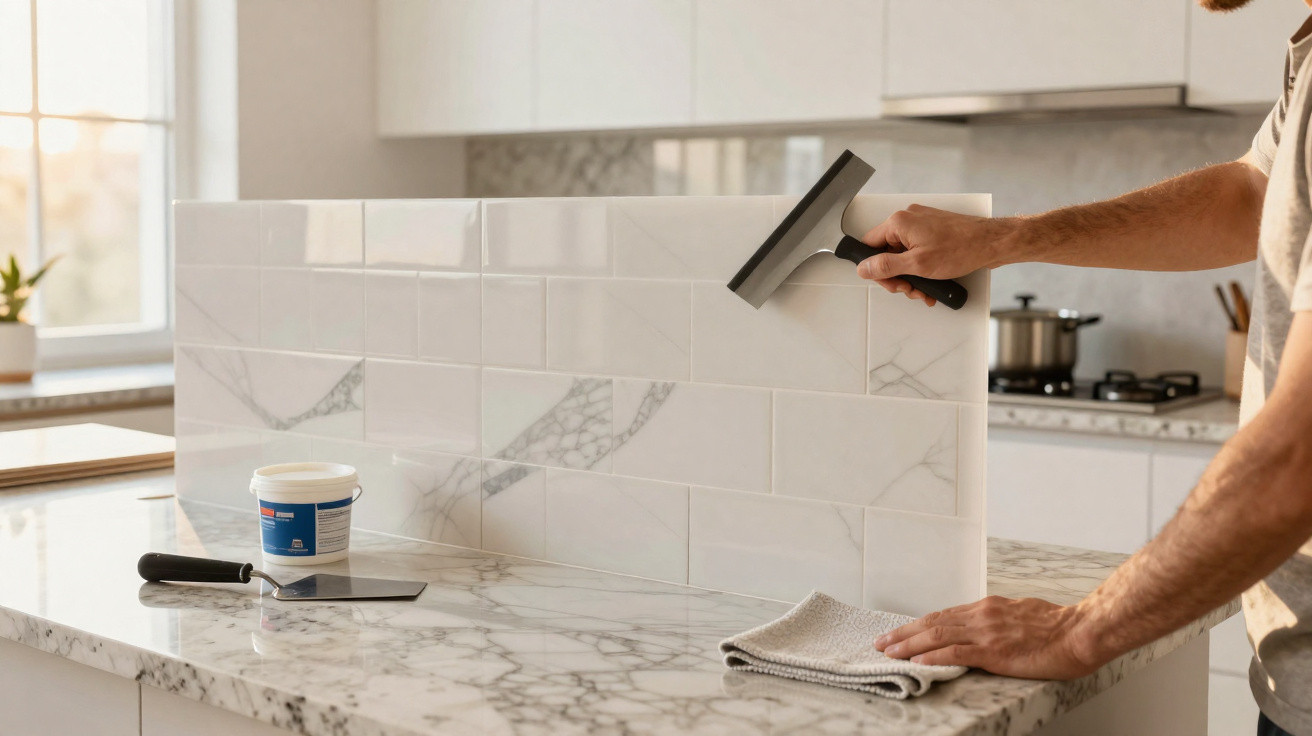
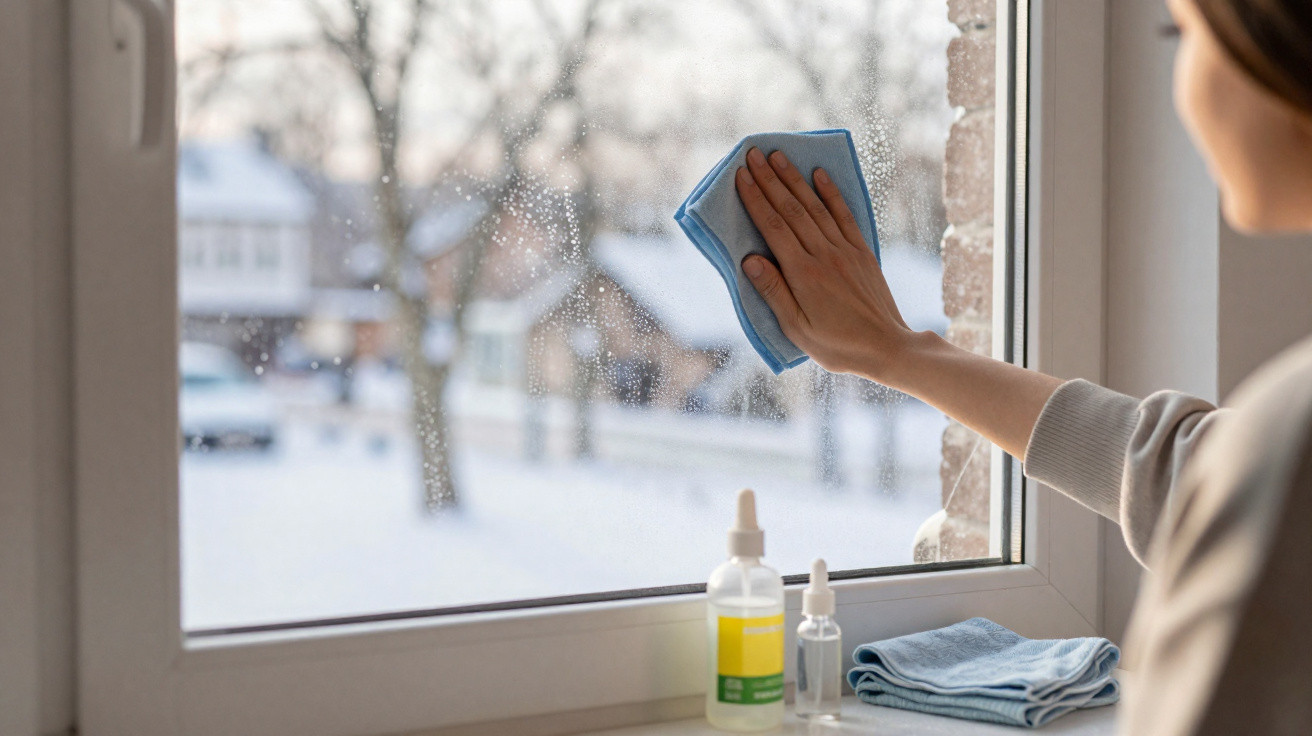
The approach used in hotels, well-maintained holiday lets and by many tradespeople takes less than a minute. Once you have showered, run a soft squeegee over the shower screens, nearby tiles and the lower edge of the glass door. Finish by using a dry microfibre cloth on horizontal seals, such as those around the shower tray or bath.
This final step can seem excessive at first, but it soon becomes a reflex. Let us be honest: nobody does it every day with military discipline. The aim is not to turn the bathroom into a laboratory, but to stop water collecting in the tiny, unseen hollows of the silicone, where stains quietly begin to develop.
Ventilation takes care of the rest, provided it is not stopped too quickly. If you have mechanical extract ventilation, allow it to keep running after the shower; if you do not, leave the window slightly open or keep the door open towards a better-ventilated room, rather than trapping all the steam in the bathroom.
“A seal stays white when it can dry completely between uses. Cleaning comes afterwards, never before that rule.”
- Squeegee the shower surfaces immediately after every shower.
- Dry flat seals with a clean microfibre cloth.
- Allow air to circulate for at least twenty minutes.
- Avoid hanging a wet towel in front of the shower.
This small amount of care prevents major deep-cleaning jobs
If the first black marks have already appeared, there is no need to panic or empty an entire bottle of bleach. Targeted cleaning with an anti-fungal product suitable for sanitary seals may be enough, as long as you rinse thoroughly and dry the area afterwards. The trap is cleaning aggressively, only to let moisture return in exactly the same way as before.
White vinegar is often recommended, but it is not a universal solution. It can help with limescale, but is less effective against mould embedded deeply in the seal, and repeated acidity is not suitable for every material. Never mix vinegar and bleach: the fumes released can be dangerous. It is better to use one product only and follow its instructions.
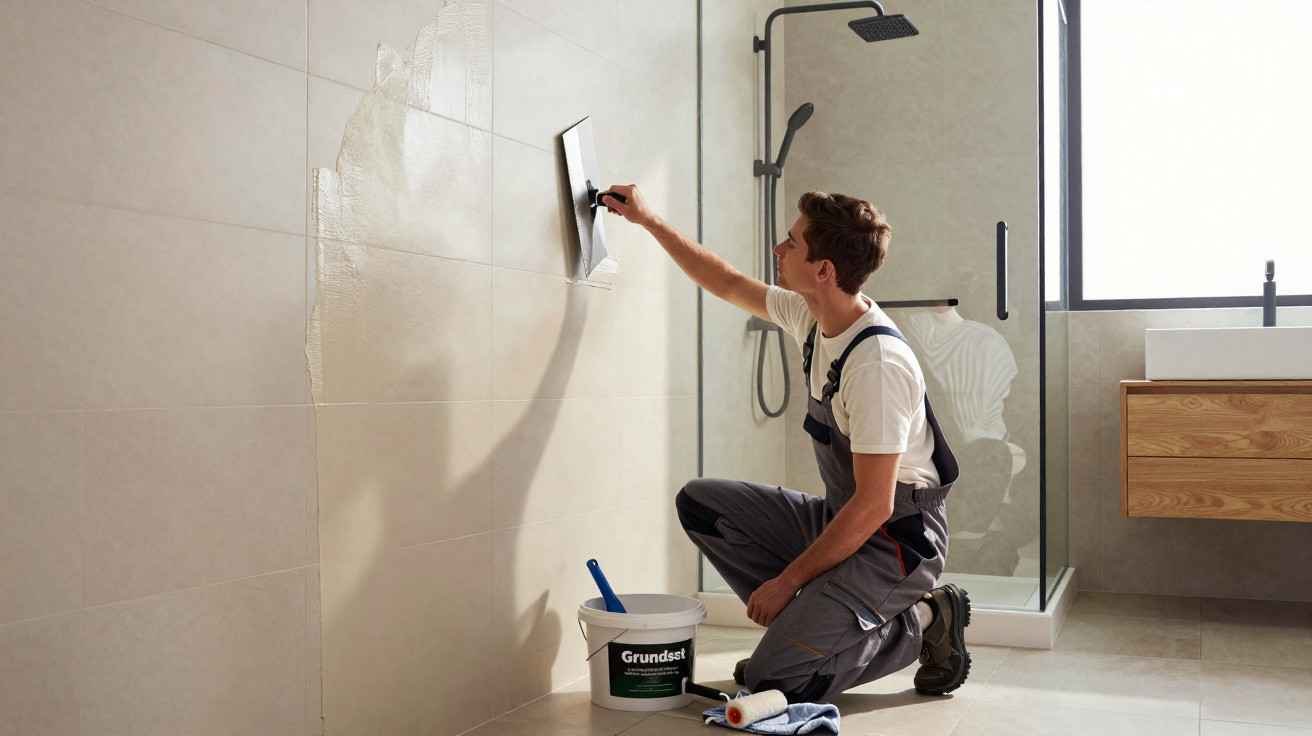
When silicone is blackened throughout its depth, cracked or lifting away, replacement may be necessary. It is a small job, but the surface must be perfectly clean and dry before applying the new seal. An anti-mould sanitary silicone gives you a better starting point, without removing the need for the essentials: dry, ventilate and repeat.
A bathroom stays attractive when the routine is effortless
The right habit should not feel like a burden in everyday life. A squeegee hung within easy reach, a microfibre cloth folded in a small basket and a window left ajar for a few minutes: organisation matters more than motivation. When accessories are hidden at the back of a cupboard, even the best intentions often remain there too.
There is something reassuring about this routine. It prevents the discouraging big clean at the weekend, harsh products that sting your eyes and the feeling that you are trying to catch up with a problem that has already taken hold. A few seconds after showering also protect glass screens from limescale, taps from white marks and musty smells that can sometimes appear without warning.
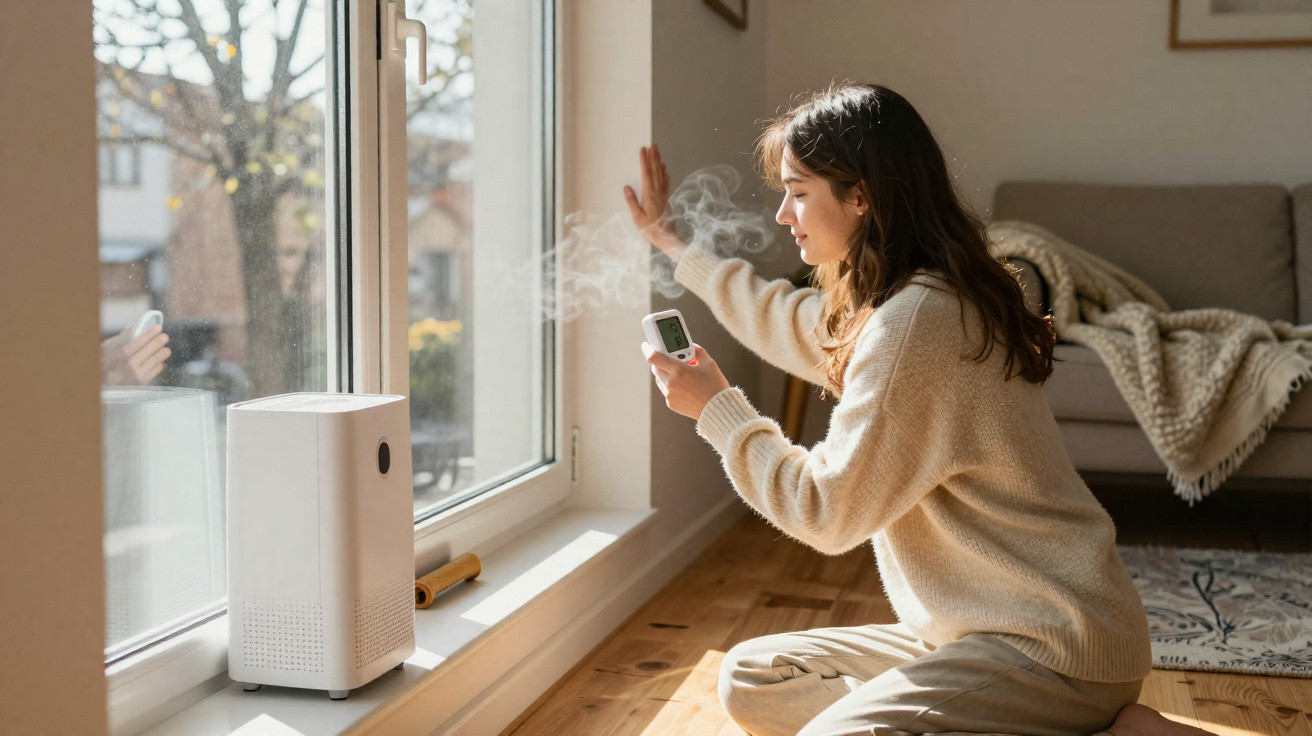
One simple reality remains: some bathrooms are poorly ventilated, have no window or are prone to persistent condensation. In that situation, a timed extractor fan, a compact dehumidifier or a check of the mechanical extract ventilation can radically improve the atmosphere. Seals are a subtle, almost domestic indicator of the air quality you breathe every morning.
| Key point | Detail | Benefit for the reader |
|---|---|---|
| Remove water after showering | Use a squeegee on the surfaces, then a microfibre cloth on horizontal seals. | Reduces stagnant moisture, the main cause of black mould. |
| Ventilate for longer | Keep mechanical extract ventilation running or refresh the air for around twenty minutes after showering. | Encourages complete drying, including in less visible corners. |
| Renovate at the right time | Replace silicone that is cracked, lifting or deeply blackened. | Avoids repeatedly using products and restores a clean seal for the long term. |




Comments
No comments yet. Be the first to comment!
Leave a Comment