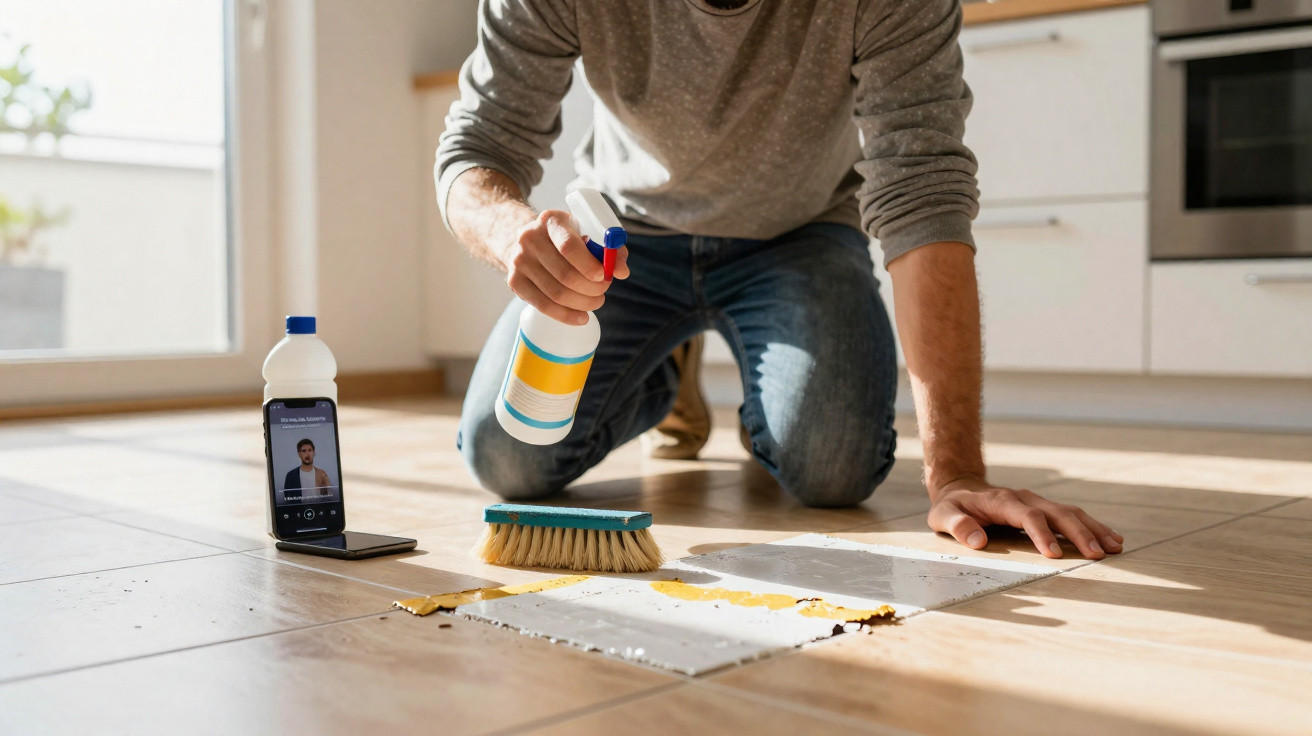
On a peaceful Sunday morning in a suburban kitchen, a woman wearing leggings and fluffy socks kneels on the floor. With her phone balanced against a mug, she films the tiles beneath her. The tiles have lost their shine, while the grout is a weary grey that no mop appears able to shift. She flicks through TikTok and finds a viral “3-ingredient grout miracle”; the decision seems to form instantly. Just three household products. “No scrubbing” required. The creator guarantees an immediate transformation.
A few minutes later, she is stirring a paste in a chipped cereal bowl, breathing in its sharp, oddly pleasing smell. She works it into the grout, starts recording, and pictures the before-and-after clip that could make her own account take off.
What she cannot see - and what those flawlessly edited videos never reveal - is what may be happening far beneath that narrow, vulnerable strip between the tiles.
Why the 3-ingredient grout hack became viral - and why homeowners are furious
The formula is so straightforward that it almost seems like a joke: a dash of bleach, a spoonful of bicarbonate of soda and a squeeze of washing-up liquid, combined into a thick paste and spread over grimy grout lines. The clips are compelling to watch, showing yellowed grout becoming brilliant white with a single satisfying wipe. Creators react in amazement, as though they have just invented indoor plumbing.
Comment sections offer countless alternatives. Some users replace bleach with hydrogen peroxide, while others add vinegar. “Game-changer,” writes one person. “Where has this been all my life?” The method appears inexpensive, effortless and quick - a risky combination.
Then accounts of the aftermath started appearing. A homeowner in Bristol posted photographs of her kitchen floor several weeks later, showing fine cracks branching across the grout and small pieces coming away like chalk. A father in Texas recorded his bathroom, where sections of grout had actually disintegrated, leaving dark gaps resembling pencil marks. Another user said her previously smooth floor had developed an odd roughness that she could not “un-feel” under bare feet.
Each had tried a variation of the same “3-ingredient” method. Initially, they blamed the tiles, the installer or their mop. It was only after several users compared experiences in the comments that the pattern became clear: the fast result came with a delayed, concealed price.
Professional tilers and building inspectors soon gave their views, and their message was unequivocal. Many viral formulas bring together products never intended to interact on porous, cement-based materials such as grout. Over time, bleach may weaken grout. Vinegar and other acids can etch grout as well as certain tiles. If bicarbonate of soda is not thoroughly rinsed away, it can leave an abrasive film that continues scratching the surface long after filming has finished.
Experts offer a brief answer: the hack may indeed “work” at first. The grout could look whiter that afternoon. However, repeated applications can make it brittle, reduce its water resistance and increase the likelihood of cracking or absorbing stains. A ten-second video does not include the repair bill that may arrive two months afterwards.
The hidden science of grout - and how to protect it
Although grout seems robust and almost stone-like, it behaves more like a tightly packed sponge than a solid piece of rock. Usually made from cement-based material, it fills the spaces between tiles, keeps them secure and helps stop water reaching the subfloor. That inconspicuous thin line carries out important work.
Applying powerful chemicals to it - particularly recurring mixtures of acids and alkalis - can interfere with its structure. Certain ingredients may dissolve the binders that keep grout intact, while others expose microscopic pores that allow moisture to enter. In turn, moisture can lead to mould, staining and, eventually, loose tiles.
This is why the argument that grout “looks cleaner now” catches out so many people. Bleach and hydrogen peroxide can rapidly lighten organic marks, prompting the eye to conclude, “Wow, this is working.” But nobody records what is happening below the tiles. A UK flooring inspector reported a 30% rise in calls concerning failing kitchen and bathroom grout during the past few years; many homeowners sheepishly said they had repeatedly used “some TikTok hack”.
One homeowner said the grout in her shower, once firm, began to feel “powdery” when she dragged a fingernail over it. She initially assumed it was soap scum. In fact, the grout itself was gradually deteriorating.
Once the visual spectacle is stripped away, the chemistry is relatively simple. Cement-based grout responds best to a neutral pH setting and gentle, non-abrasive maintenance. Vinegar and lemon juice are acidic, whereas bleach and some laundry products are strongly alkaline. Combine them with an abrasive such as bicarbonate of soda and surfactant-rich washing-up liquid, and the result is a harsh, unstable cleaning mixture. It foams and fizzes, creating dramatic footage.
It can also cause rapid swings in pH on the grout surface, sometimes in a matter of seconds. Using such treatment once or twice may not destroy a floor. Repeating it every weekend, however, gradually wears away the material holding tiles in position. Realistically, hardly anyone reads the safety guidance on the back of a bleach bottle before they begin mixing products.
How to clean grout safely without damaging floors
The unexciting truth, unlikely to go viral, is that regular gentle care is more effective than dramatic tricks. Begin with warm water and a mild pH-neutral cleaner specifically marked as safe for tiles and grout. Spray it on, leave it for several minutes, then clean along the joints using a soft-bristled brush. Do not use a wire brush or an old, rigid barbecue brush from the shed. A toothbrush or dedicated grout brush is sufficient.
For more persistent marks, oxygen-based cleaners - rather than chlorine bleach - are the safer option. Prepare them according to the instructions, apply them to the grout and allow time for the product to work before brushing. Rinse carefully to ensure that no residue remains to scratch or dull the finish. It is not spectacular and will not make anyone a viral star, but the grout will benefit quietly for years.
Many people adopt a “more is more” attitude towards cleaning products. When grout refuses to brighten, they pile on cleaners or combine them in pursuit of an instantly white joint. This can produce unpredictable reactions and fumes that irritate the eyes. If one product has failed, do not pour another directly over it. Rinse the area, wait, and test a different approach on another day.
We all recognise the point at which a chore has lasted long enough to make you say, “Fine, I’m nuking this.” That is precisely when damage is most likely. The floor doesn’t care that you’re tired and just want it done by 5PM.
Specialists also advise sealing cement-based grout once or twice yearly, particularly in damp spaces or areas with heavy footfall. A quality sealer repels stains, which makes future cleaning both easier and less aggressive.
“People will spend thousands on a new bathroom,” says Mark Davies, a tiling contractor with 20 years’ experience, “then absolutely destroy the grout within a year using kitchen chemicals that cost a few pounds. The harsh hacks always come back to bite.”
To keep the process straightforward, many professionals recommend the following checklist:
- Use a pH-neutral cleaner made for tile and grout.
- Choose soft or medium bristles rather than metal or exceptionally stiff brushes.
- Rinse thoroughly, and dry areas exposed to high moisture whenever possible.
- Reseal grout at intervals, particularly on kitchen floors and in showers.
- Do not mix products, especially bleach with acids.
The true cost of “miracle” grout hacks - and why floors deserve better
There is a clear reason why these 3-ingredient grout hacks spread so widely online. They promise the appealing idea that one small trick can remove years of neglect without costing much. The transformation provides a dopamine hit and a feeling of control in a home that constantly produces laundry and mess. Using items already beneath the sink, rather than buying yet another specialist product, can even feel a little rebellious.
Yet grout is not merely decorative. Once it begins to fail, further issues can develop quietly: water entering the subfloor, tiles becoming loose, mould growing in inaccessible places and, eventually, renovation estimates that hurt. At that stage, the early excitement of the hack can quickly become regret, along with genuine anger towards creators who made it appear entirely harmless.
There is a less obvious emotional aspect too. When the damage becomes visible weeks later, homeowners often blame themselves. They may assume they scrubbed too forcefully, that their house is simply “bad”, or that their children spoiled the floor. The reality is more structural: social media rewards drama and immediate visual results, rather than long-term maintenance. A paste that safely preserves grout does not make captivating content. A high-contrast, foaming and fizzing transformation does.
There is no need to reject every hack that appears online. Instead, take a brief pause between “save this video” and “dump this into a bowl on my kitchen floor.” In that moment, consider the grout’s composition, the ingredients in the cleaner and what a qualified professional might advise. That pause is what may allow the tiles to outlast the trend.
If you have already tested the viral grout cocktail and your floor still appears fine, there is no reason to panic. A single experiment has probably not ruined the kitchen. The important issue is the routine you adopt from now on. Replace harsh mixtures with focused, tested products, and look out for early warning signs: crumbling edges, hollow noises beneath tiles, or grout joints that remain damp well after the rest of the floor has dried.
The straightforward reality is that a floor which ages gracefully seldom looks as startlingly “perfect” as a TikTok after-shot. Instead, it continues doing its job, quietly and year after year, without requiring thousands of pounds in repairs. It may not become viral, but for homeowners dealing with real budgets, real children and real mess, that is the low-drama outcome that matters.
| Key point | Detail | Value for the reader |
|---|---|---|
| Risk of hidden damage | Powerful DIY mixtures may weaken grout and create cracks over time | Helps prevent expensive repairs and premature tile failure |
| Safe cleaning approach | Use pH-neutral cleaners, soft brushes and thorough rinsing | Cleans grout while maintaining its structure |
| Prevention strategy | Seal regularly and avoid mixing products | Prolongs floor life and reduces the pressure of deep cleaning |










Comments
No comments yet. Be the first to comment!
Leave a Comment