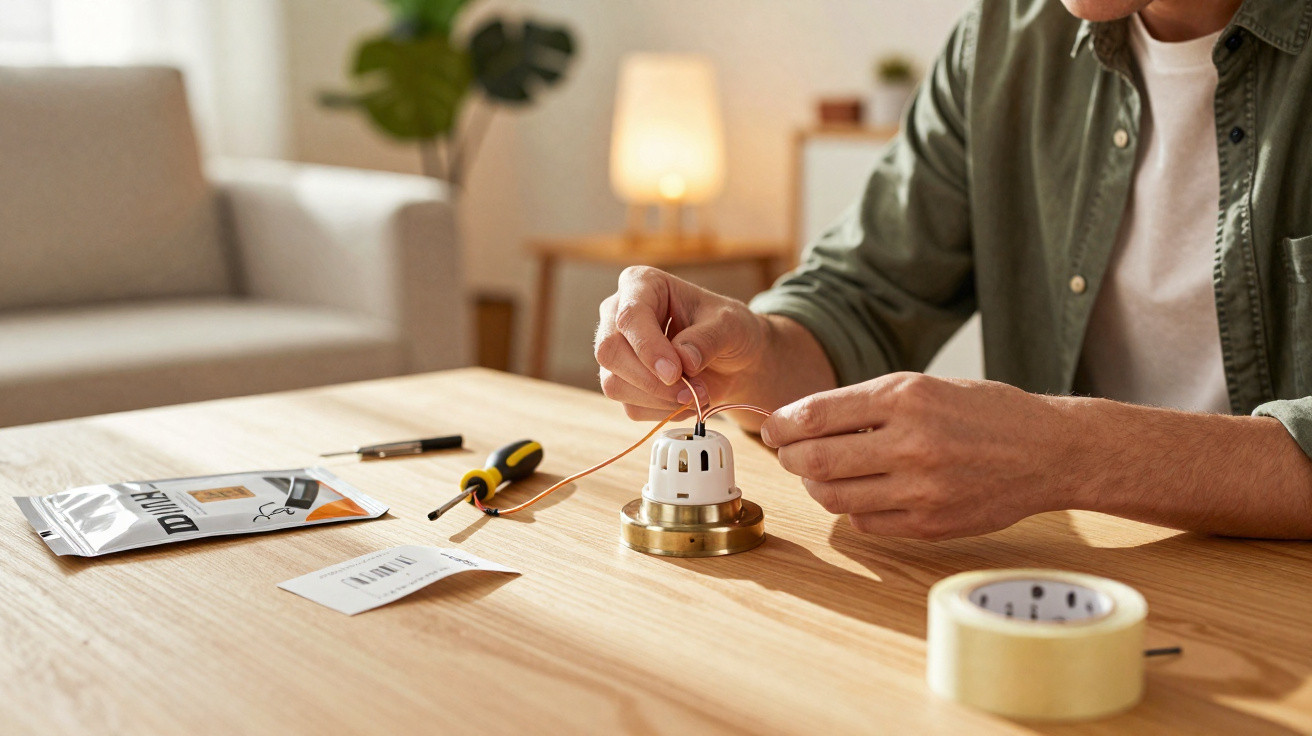
Sarah looked at her grandmother’s vintage lampshade as its lovely fabric threw warm patterns across the living-room wall. After decades of reliable use, the electrical flex had finally failed, forcing her to decide whether to discard this treasured object or find a way to restore it. Having never handled wiring before, she found YouTube demonstrations made the task seem remarkably manageable. Her neighbour said a rewiring kit from the hardware shop would cost only eight euros. Could it really be that simple? Saving money while protecting something with sentimental value felt unexpectedly empowering.
Why DIY Lamp Rewiring Makes Perfect Sense
Most of us know the situation: a favourite lamp gives its final flicker, followed by a repair estimate that feels needlessly costly. Electricians commonly charge 50 to 100 euros for straightforward lamp rewiring, before adding any call-out fees. Yet the materials themselves cost less than a good coffee.
My friend Emma learnt this first-hand last month after her mid-century floor lamp stopped working. A repair shop estimated 85 euros, but replacement components from her local Brico depot came to exactly 7.50 euros. She devoted a Saturday afternoon to following online instructions and finished with a fully working lamp - as well as the reward of acquiring a completely new skill.
In reality, basic lamp rewiring requires no complicated electrical expertise. Rather than rewiring your whole home, you are simply replacing a flexible lead that plugs into the wall. Lamp faults generally occur at familiar vulnerable spots: the point where the lead enters the base, the plug, or the mechanism inside the socket.
Step-by-Step DIY Lamp Rewiring Without the Intimidation
First, unplug the lamp completely. It may sound self-evident, but this essential step is forgotten more often than you might think. Take off the shade and bulb, then detach the socket assembly from the lamp base. Most sockets either unscrew anticlockwise or are secured with small screws.
Seeing the wires inside need not be daunting: there are just two, usually colour-coded or visibly distinct. One attaches to the brass terminal and the other to the silver terminal. Before disconnecting anything, take a quick photograph on your phone so you have a reference for putting it back together.
“The biggest mistake people make is overthinking the process. It’s literally connect A to A and B to B,” explains Marco, who runs electrical workshops at community centers across Belgium.
- Wire strippers (included in most kits)
- New electrical cord with plug
- Replacement socket if needed
- Small screwdriver
- Your smartphone for reference photos
The Unexpected Joy of Fixing Things Yourself
Repairing something successfully with your own hands brings a certain magic. The lamp becomes more than a useful piece of furniture: it stands for capability, resourcefulness and a modest win against throwaway culture. You also develop abilities that can be applied to other jobs around the home.
Honestly, few people enjoy phoning repair services and arranging their lives around someone else’s timetable. Learning basic maintenance skills offers a level of freedom and flexibility that money cannot provide. Your time is yours again.
These modest moments of self-sufficiency can have surprising knock-on effects. The next time, perhaps you will repair that unsteady table leg or a squeaking door hinge. Each successful repair builds confidence for the following task, creating an upward cycle of household capability and personal satisfaction.
| Key point | Detail | Value for the reader |
|---|---|---|
| Cost savings | Kit costs 7-10 euros vs 50-100 euro professional service | Immediate financial benefit |
| Time efficiency | 1-2 hours vs scheduling and waiting for repairs | Complete control over timing |
| Skill building | Transferable knowledge for future projects | Long-term self-reliance and confidence |

















Comments
No comments yet. Be the first to comment!
Leave a Comment