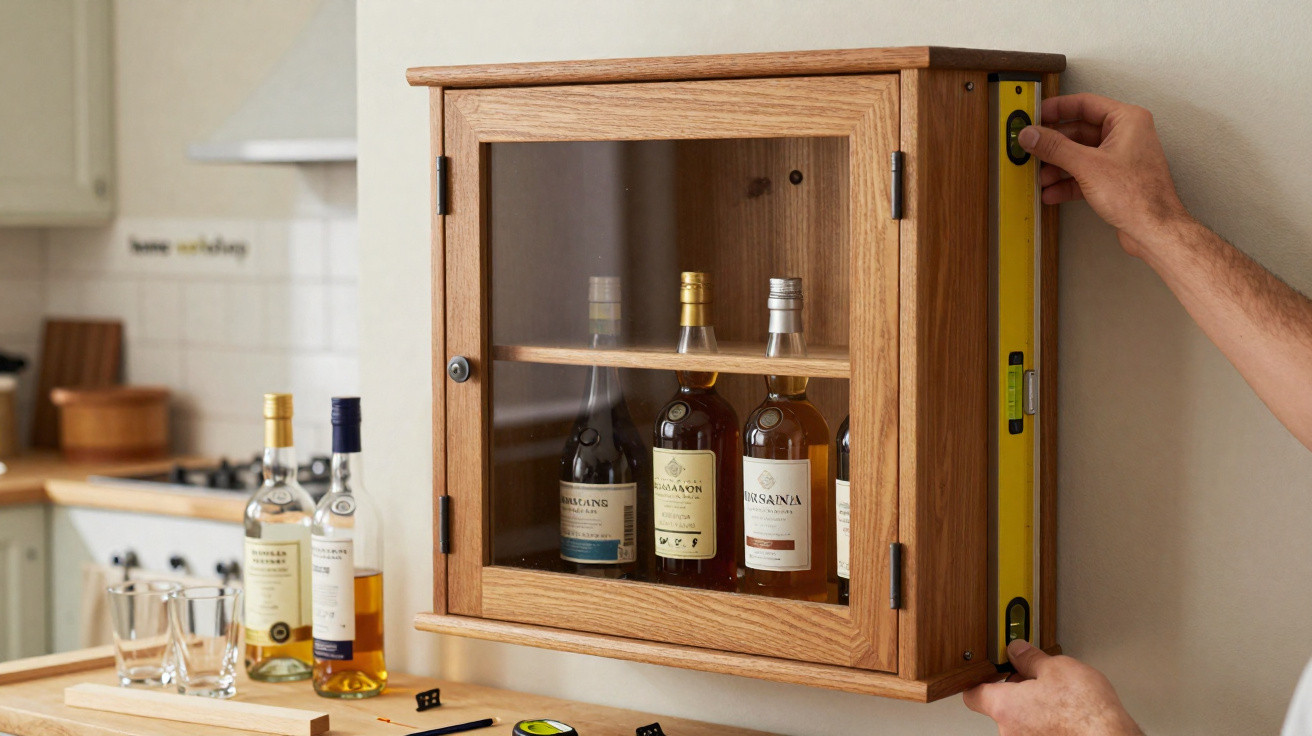
A drinks collection can become clutter surprisingly quickly: bottles end up on the worktop, glasses fill a cupboard and presentation boxes gather dust in awkward corners. A well-planned wall cabinet brings order without taking up floor space. The key is to treat it as a piece of furniture first and storage second: it needs to suit the room, hold a considerable weight safely and make every bottle easy to reach.
For an aspiring cabinetmaker, a project such as a cabinet for a parent can also demonstrate practical skill. It is a chance to respond to a real brief, make sound material choices and complete a piece that has to work in somebody’s home. Whether you are building a drinks cabinet, commissioning one or adding work to a portfolio, the same principles apply.
Start with a brief, not a sketch
It is tempting to begin with an attractive drawing, but first decide exactly what the cabinet must do. A cabinet for a few whisky bottles has different requirements from one that also needs to hold tumblers, cocktail equipment and large boxed bottles.
Measure the intended wall space and the largest items before settling on dimensions. Bottle sizes vary, and gift boxes can be much taller, wider or deeper than a standard bottle.
A useful brief should include:
- the number and types of bottles to be stored;
- the height, width and depth of the largest items;
- whether glasses, bar tools or ice buckets need space;
- solid, glazed or open-fronted doors;
- existing timber, paint and metal finishes in the room;
- the wall construction and available fixing points;
- whether the cabinet should stand out or blend in.
For a wall-hung cabinet, depth is especially important. A deep unit may hold more, but can feel intrusive in a narrow kitchen or dining room and places greater demands on the fixings. A carefully edited display is often more successful than trying to store every bottle in one place.
The strongest furniture projects are not simply decorative. They show that the maker has considered how someone will use, clean and live with the piece.
Choose materials that suit the job
Solid timber can make a small cabinet feel warm and special. Oak, ash, walnut and maple are widely used for furniture, each with its own grain and colour. Veneered plywood and furniture-grade board can also be sensible, stable choices, particularly for concealed panels and cabinet carcasses.
Do not choose timber for appearance alone. Think about seasonal movement, weight and the finish you intend to use. Solid wood expands and contracts as humidity changes, which can be noticeable in UK homes through damp winters and centrally heated periods.
A practical material plan
- Use stable sheet material for broad internal panels where suitable. This can be useful for backs, sides and wide shelves.
- Use solid timber for visible edges and details. Face frames, door edges and handles benefit from its grain and tactile quality.
- Size shelves for the expected load. Full glass bottles are heavy, and long, thin shelves may sag.
- Include a properly fitted back panel. It keeps the cabinet square and can support an appropriate concealed hanging system.
- Make finish samples first. Oil, lacquer, wax and stain can look markedly different on the chosen timber.
A restrained palette usually feels more considered than a collection of competing finishes. Timber, clear glass and modest metal hardware can be enough.
Build around sound joinery
A drinks cabinet tests core cabinetmaking skills. The carcass must be square and rigid, doors must align, shelves must remain level and the finished unit must tolerate being moved and loaded.
Dovetails, mortise-and-tenon joints, dowels, loose tenons and housed joints can all work well. There is no universally best choice: use a joint that provides adequate strength for the design and that you can make accurately with the tools available.
For a contemporary cabinet, clean mitres with concealed reinforcement may suit the look. A more traditional design may use visible dovetails or framed-and-panel doors as part of its character.
Take care over the unglamorous stages:
- prepare stock consistently before cutting joints;
- dry-fit the carcass before gluing;
- check for square by comparing diagonal measurements;
- soften sharp edges without losing crisp details;
- sand methodically rather than rounding corners;
- test hinges, catches and door gaps before applying the finish.
Wear suitable eye and hearing protection when machining timber, use dust extraction where possible and follow the safety guidance for adhesives and finishes. Fine wood dust and solvent vapours should not be treated casually.
Design the interior for everyday use
The display matters, but bottles must still be simple to remove. Leave room above and beside each one for fingers, and avoid shelf lips that catch labels, necks or glassware.
Adjustable shelves offer flexibility, while fixed shelves can look neater and add rigidity. A mixed arrangement can work well: fixed shelves for heavy bottles, plus a smaller adjustable section for glasses or a changing collection.
Glazed doors keep dust down while allowing the collection to be seen. If the cabinet is in a bright room, reduce direct sunlight with its position or window covering rather than relying on glass alone. Prolonged strong sunlight and heat can affect timber finishes and are best avoided for stored drinks.
Interior lighting can be effective when it is subtle. Low-heat LED fittings are generally a better choice than older lamps that run hot. Route cables neatly, keep electrical work within your competence and use a qualified electrician where needed. Avoid placing electrical fittings where a spill could reach them.
If young children visit the home, consider locating the cabinet out of reach or fitting a suitable lock. Glass bottles and alcohol both need sensible storage.
Make wall fixing part of the design
A beautifully made cabinet is only as safe as its installation. This matters particularly when it will hold glass bottles. Do not assume plasterboard alone can support a fully loaded unit.
Check these points before fitting
- Identify the wall type. Brick, blockwork, timber studs and metal-stud partitions require different fixings and methods.
- Find secure fixing points. Use a reliable detector, but proceed cautiously: pipes and electrical cables may be concealed in walls.
- Work out the loaded weight. Include the cabinet, doors, shelves, glassware and every bottle.
- Choose a hanging system suitable for that load. A continuous hanging rail or substantial brackets are generally more appropriate than light-duty picture hooks.
- Check level and operation after fixing. Tightening fixings can affect the cabinet slightly, so recheck the doors and catches.
If there is any uncertainty about the wall, fixings or load, ask an experienced carpenter or installer to assess it. Do not hang a heavy cabinet over a bed, sofa or an area where people regularly sit or stand unless it has been properly secured.
Good joinery is only half the job. A professional result also depends on safe fitting, tidy edges at the wall and hardware that remains reliable in use.
Finish for durability, not just first impressions
The finish should cope with fingerprints, occasional splashes and routine cleaning. Hardwax oil can give a natural appearance and may be easier to repair in a small area. Lacquer can provide a more consistent sheen and good protection. Traditional wax can look attractive, but normally needs more maintenance and is less resistant to spills.
Follow the product instructions for application, ventilation, drying and curing. A surface may feel dry well before it has hardened fully, so avoid loading shelves or closing doors tightly too soon. Take particular care with oil-soaked cloths: some finishing oils can generate heat as they dry. Follow the disposal instructions on the product, rather than leaving used rags bunched up in a bin.
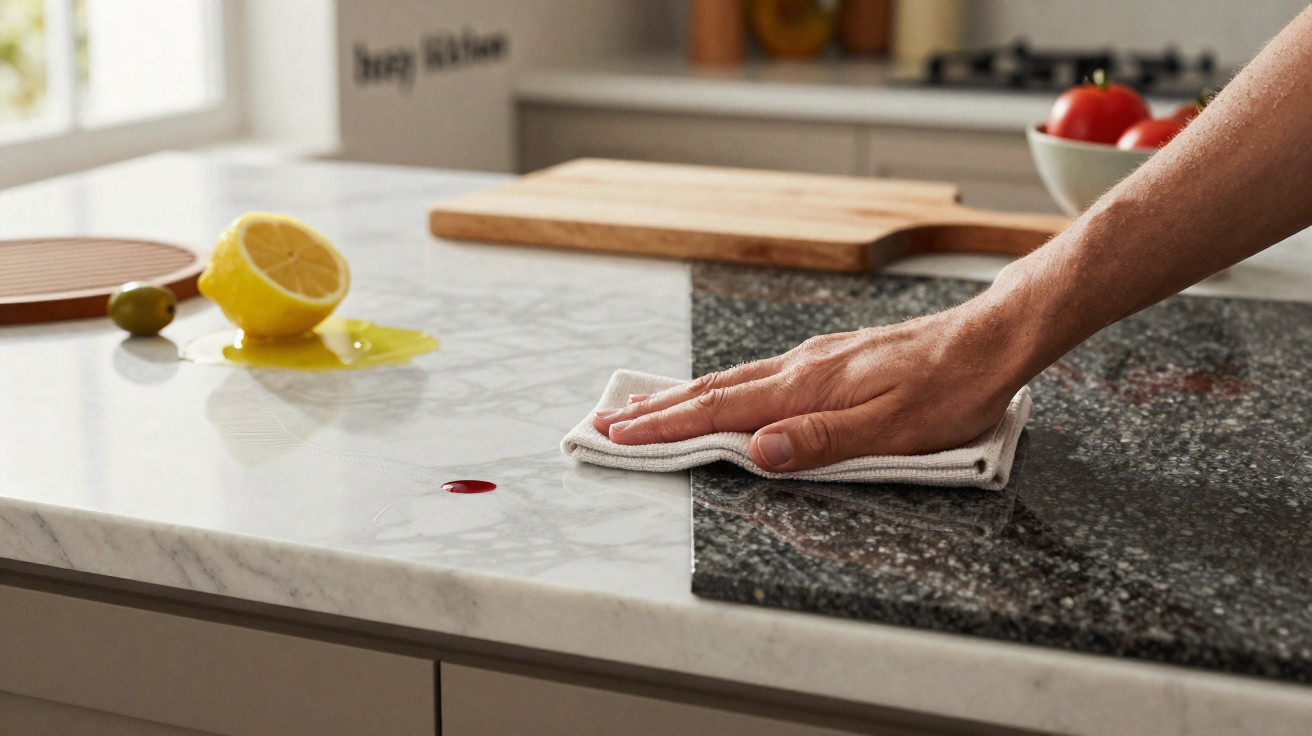
Wipe spills promptly and use a barely damp microfibre cloth for everyday cleaning. Avoid soaking timber with spray cleaner. Never mix cleaning products: bleach must never be mixed with acidic products or ammonia-based cleaners, as hazardous fumes can result.
Common mistakes that undermine a good cabinet
Even experienced makers can lose time on predictable errors:
- Designing before measuring bottles: shelves end up only a few millimetres too short.
- Ignoring loaded weight: slim shelves or unsuitable wall fixings can be overwhelmed once the cabinet is full.
- Choosing hinges too late: door thickness, overlay and opening angle need to inform the design early.
- Applying finish before final checks: correcting an uneven door gap afterwards creates unnecessary rework.
- Overcomplicating the display: too many compartments, lights and contrasting materials can make a small cabinet look busy.
- Skipping test pieces: a sample door edge, shelf detail or finish board can prevent expensive mistakes.
- Forgetting access: a cabinet may look balanced on paper but be awkward if a door hits a nearby wall, light fitting or cupboard.
Turn a personal project into a useful portfolio piece
A cabinet made for a parent, friend or your own home can still demonstrate professional ability. Photograph it in natural daylight before it is filled, then again in use. Include wider room views, close-ups of joints and hardware, and details that show practical thinking, such as shelf adjustment or the hanging arrangement.
Keep a concise record of the brief, drawings, materials, problems encountered and how you solved them. Potential employers and clients often want to understand the decisions behind a piece, not just see the finished photograph.
A well-executed project cannot guarantee work, but it can start useful conversations about your accuracy, material knowledge and ability to finish a real domestic commission. Pair it with honest information about your experience and the parts of the process you completed yourself.
A drinks cabinet does not need to be extravagant to earn its place. Make it proportionate, safely installed and genuinely useful, and it becomes more than storage: it is a piece of skilled work that improves everyday living.






Comments
No comments yet. Be the first to comment!
Leave a Comment