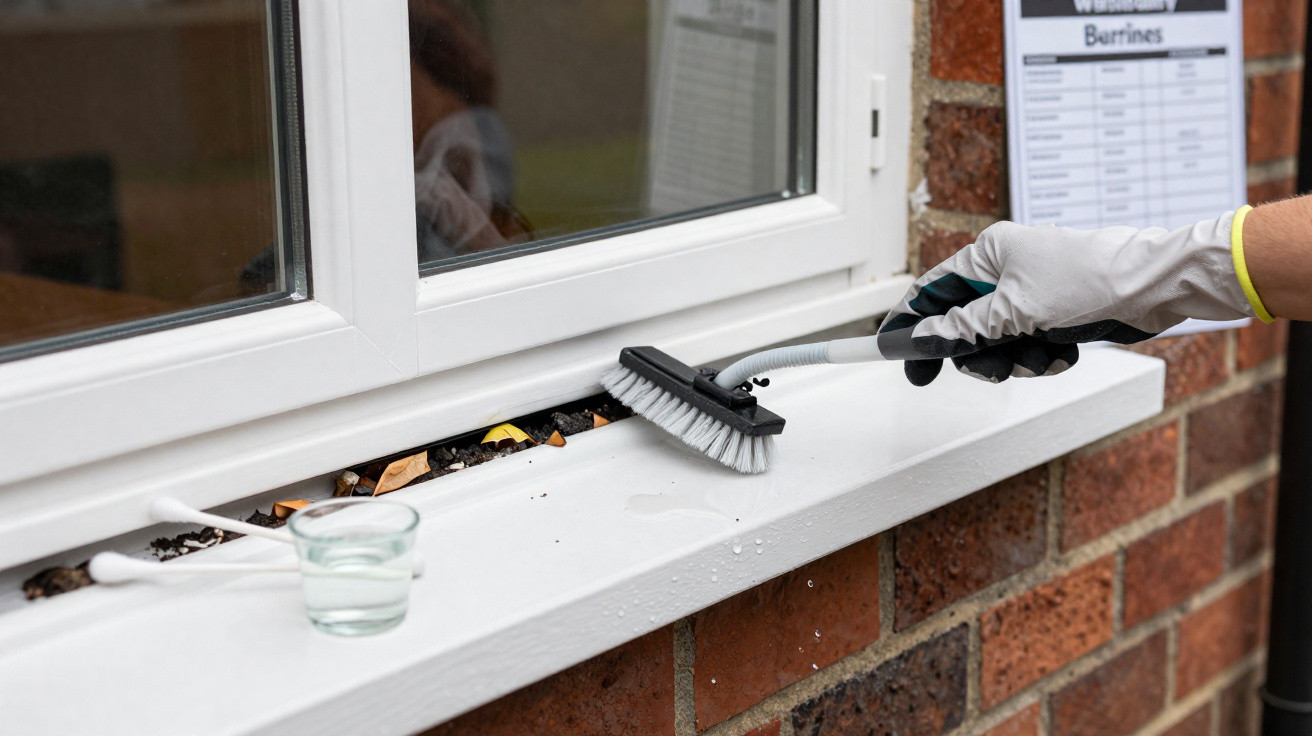
A window can look clean while holding water in a place most people never inspect: the drainage channel along the bottom of the frame. Once autumn brings persistent rain and wind, blocked outlets can let water sit in a uPVC frame or track, sometimes overflowing towards the internal sill and surrounding finishes.
The useful maintenance job is straightforward: locate the external drainage openings, remove loose debris carefully and check that water can escape outside. Clearing them will not fix every leak, but it can prevent a simple blockage from being mistaken for a more serious window problem.
The aim is not to create new holes or force anything through the frame. It is simply to keep the drainage route provided by the manufacturer clear.
Why uPVC windows have drainage holes
Most uPVC windows are designed to manage small amounts of rainwater that reach the lower rebate or track, including during wind-driven rain. This does not necessarily mean the window has failed.
Small drainage, or “weep”, holes allow that water to leave the frame on the outside. They are commonly found on the external face of the lower frame, often as narrow slots, round holes or openings beneath small plastic covers.
They should not be sealed with silicone, filler, tape or paint. Blocking them traps water where it should be able to drain away.
The layout varies between window systems. Casement windows, sliding patio doors, bay windows and tilt-and-turn units can have different drainage paths, so do not assume every groove or hole is a drain.
What can block them
Drainage openings sit low down and are exposed to whatever the weather deposits there. Over spring and summer, debris can collect in the channel and compact.
Common causes include:
- wind-blown grit, soil and dust;
- pollen, seeds, leaves and cobwebs;
- moss or algae on shaded sides of the house;
- residue left by dirty cleaning water;
- paint flakes, mortar dust or render after building work;
- sealant applied over an outlet by mistake.
Newly installed windows and homes undergoing renovation deserve particular attention. Dust from brickwork, plaster and rendering can gather around frames surprisingly quickly, as can leftover protective tape or packaging.
If you can see insect activity around an opening, or hear buzzing from within the frame, do not probe it. A pest-control professional can advise where necessary.
Why the frame may appear to be swelling
When an outlet is clear, water in the lower channel should drain outside. If it is blocked, water can remain in the frame until further rain or wind pressure makes it find another route.
Warning signs around the bottom corners of the opening can include:
- a wet internal sill or window track after rain;
- recurring brown, grey or dark marks on plaster or wallpaper;
- blistering paint beneath the window;
- lifting or swelling to MDF sills, timber trim, skirting or laminate flooring;
- a musty smell near the window reveal;
- staining that returns after wet weather.
It is important to be precise: uPVC does not normally swell from absorbing water in the way timber or MDF does. What looks like a swollen plastic frame may actually be wet sealant, distorted trim, damaged plasterboard, bulging paint or a fault in the surrounding wall.
Clearing a blocked outlet can solve a minor drainage issue. It cannot repair failed external seals, cracked render, damaged masonry, an incorrectly fitted frame or a failed glazing unit.
Dampness that returns after wind-driven rain is worth treating as a possible water-ingress problem, rather than assuming it is ordinary condensation.
How to check the drains safely
Choose a dry, bright day. You may need a torch, a soft brush or old paintbrush, a vacuum with a narrow nozzle, cotton buds and a small cup of clean water. Wear gloves when handling grime or debris.
1. Look from outside first
Inspect the lower external edge of the fixed frame. Look along its full width for small slots, holes or covered openings, paying particular attention to corners.
Do not mistake fixing holes, screw covers, security hardware or ventilation features for drainage points. If you have the original window paperwork, check the manufacturer’s maintenance instructions. Otherwise, a competent local window installer should be able to identify the arrangement.
2. Remove loose debris
Brush leaves, dry mud and cobwebs from the frame and external sill. Use a vacuum only on accessible tracks and channels, without forcing its nozzle into small openings.
Lift a drain cap only where it is clearly intended to open. Do not tug at seals, trims or parts that appear fixed in place.
3. Deal with a visible blockage gently
If debris is sitting plainly at the mouth of a drainage opening, lift it away with a cotton bud, soft pipe cleaner or flexible plastic cleaning stem. Keep the tool shallow and work slowly.
Never use a nail, wire, screwdriver, knife, drill bit or any rigid metal object. It can scratch the uPVC, damage seals or internal parts, and push compacted debris deeper into the channel.
4. Test with a little clean water
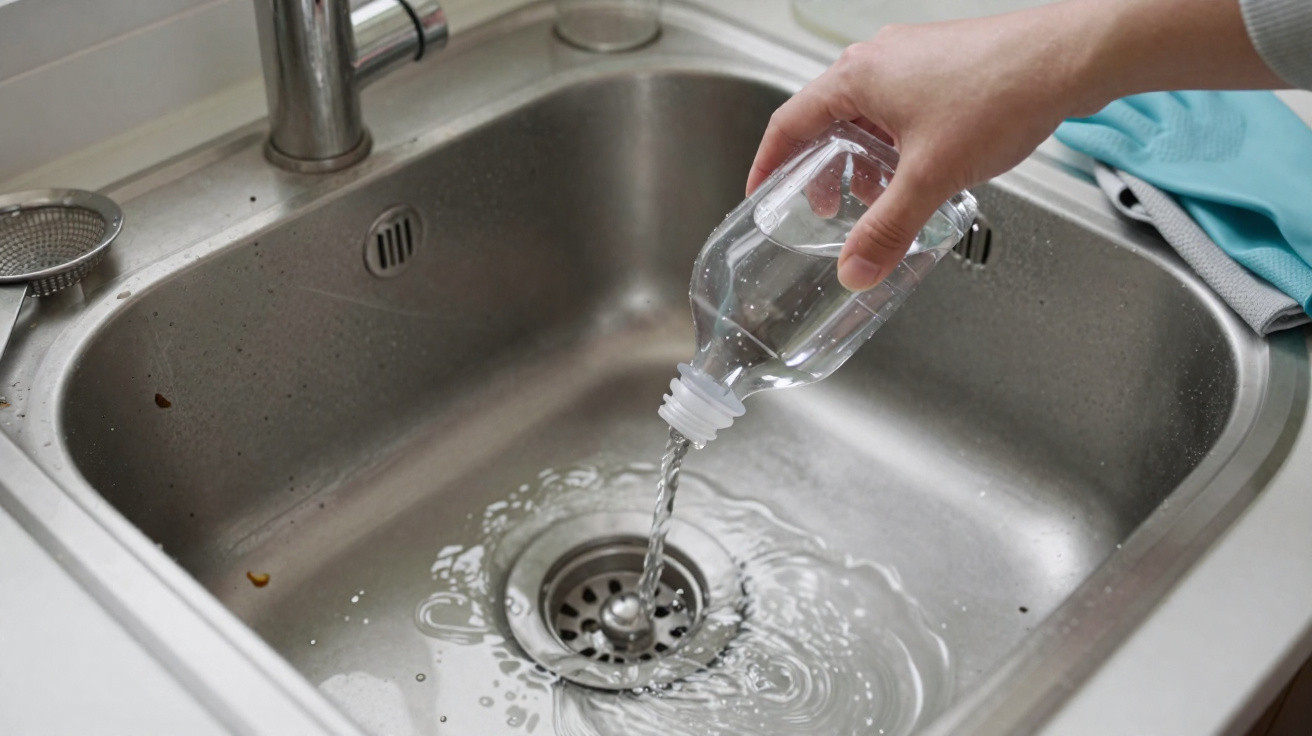
With the window closed, add a small amount of water to an identifiable lower external channel. Watch to see whether it exits through the intended drainage route.
Do not use a hose, pressure washer or large jug. Too much water can overwhelm the channel and force water past seals, making the result difficult to interpret.
If water pools, travels towards the room or fails to emerge outside after gentle cleaning, stop. The blockage may be deeper inside the profile, or the issue may have another cause.
Condensation is different from a leak
Condensation is common in UK homes during colder, damper months. It usually appears as droplets on the room-side glass, and sometimes on the inside of the frame, when humid indoor air meets a cold surface. Cooking, showering, drying clothes indoors and limited ventilation can all contribute.
A drainage or water-ingress problem is more likely if dampness is concentrated at the bottom of the opening, worsens after rainfall, or affects the wall, sill or trim. Water inside a closed window track after rain also needs attention.
Rather than judging the cause from one damp morning, observe the pattern over several days:
- Does it happen after rain, especially on the weather-facing side of the house?
- Is there moisture between the panes of glass? This can indicate a failed sealed unit.
- Does the water wipe from the glass, or does the wall or trim itself feel damp?
- Are external seals cracked, detached or missing?
- Is render, brickwork or pointing damaged around the frame?
Photographs taken after rainfall can help an installer or surveyor assess the issue.
Common mistakes that make matters worse
Avoid these tempting shortcuts:
- Sealing drainage slots: this can trap water inside the frame.
- Using a pressure washer: it may drive water behind seals and into the building fabric.
- Forcing metal tools into channels: hidden seals and components can be damaged.
- Pouring bleach, vinegar or drain cleaner into the frame: these are unnecessary and may harm finishes or seals. Never mix bleach with acids or other cleaning chemicals.
- Painting over stains immediately: this can conceal evidence while moisture continues to enter.
- Assuming every damp patch is condensation: rain-related staining needs further investigation.
- Ignoring exterior defects: blocked drains are only one possible cause of water around a window.
When to call a professional
A careful clean is reasonable for surface debris. Arrange an inspection by a competent window installer or building professional if dampness persists, water appears on the room side, stains spread, trims loosen, seals crack or detach, or the frame looks distorted.
Get professional advice rather than taking risks if the window is high up, difficult to reach safely, part of a conservatory roof, or covered by an installer’s warranty. Do not dismantle sashes or remove glazing beads yourself.
A professional can assess the drainage route, frame alignment, glazing, external sealant and the junction between the frame and wall. A clear outlet cannot compensate for poor installation or damage to the surrounding building fabric.
Add it to your autumn routine
Check accessible window drainage in spring and again in early autumn, before leaf fall and prolonged wet weather. Include patio doors, conservatory frames and ground-floor windows, which often collect the most debris.
Keep the task modest: brush the sill, remove visible dirt, use only a little water for a test, and stop if the route does not work as expected. It is a small maintenance check, but it helps rainwater leave by the route it was designed to take - outside rather than into your decorating.













Comments
No comments yet. Be the first to comment!
Leave a Comment