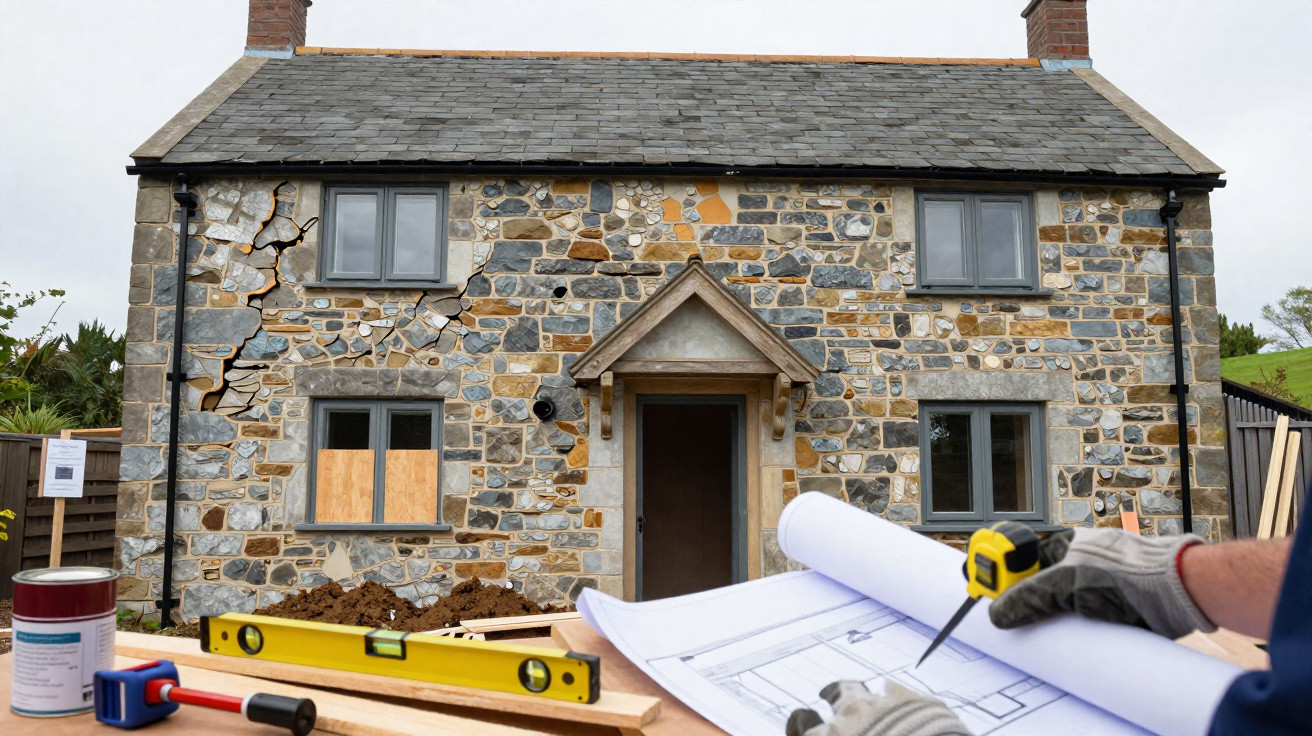
An abandoned cottage can look like a bargain until the first clear-out reveals leaking roofs, damp walls, unstable floors and missing services. The useful lesson in this compact-home transformation is simple: make the building safe, dry and structurally sound before spending money on kitchens, paint or furniture.
At only 37 square metres, a cottage has little space to waste, but it can still require the same essential work as a larger house. A thoughtful layout helps, yet the real transformation begins with surveys, repairs and a realistic budget for the surprises old buildings often conceal.
A small footprint does not mean a small project. Older buildings can require major decisions before they are safe, dry and comfortable.
Start by treating it as a building site
A property that has been empty for years may be more shell than home. Cracked masonry, boarded windows and an earth or damaged floor are not cosmetic problems; they can point to prolonged water ingress, poor drainage or structural deterioration.
Do not assume that a cottage is sound because its walls are still standing. Water can damage roof timbers, floors, internal joinery and services long before obvious cracks appear outside. Before clearing rooms or removing old finishes, establish whether the building is safe to enter and whether professional advice is needed.
Traditional cottages also need an approach suited to their original construction. Solid stone or brick walls, lime mortar and old timber details may not respond well to the same materials used in a modern cavity-wall house.
Survey first, then build the budget
A low purchase price can be misleading. Roof repairs, drainage connections, electrical upgrades, insulation, windows, waste removal and access can quickly become the largest parts of the project.
Before committing to significant work, consider advice from a chartered surveyor. Depending on the condition of the building, a structural engineer, drainage specialist or conservation-accredited professional may also be appropriate.
A practical inspection checklist
- Examine the roof and rainwater goods. Look for missing or slipped slates, damaged flashing, blocked gutters, failed downpipes and signs of water entering the roof space.
- Assess walls and foundations. Some cracking is superficial, but movement, bulging walls and persistent damp need proper investigation.
- Check the floors. Suspended timber floors can rot, while earth floors or damaged concrete may need a completely new build-up.
- Confirm services. Find out whether mains water, electricity, foul drainage and broadband are available, and obtain quotes for connection work.
- Identify hazardous materials. Older buildings can contain asbestos, lead paint, contaminated waste or unsafe structures. Do not disturb anything suspect yourself.
- Check permissions early. Listed status, conservation areas, protected species and local planning rules can affect windows, rooflights, dormers and external alterations.
Keep a contingency fund rather than treating quotations as a final figure. Once floors are opened and internal linings removed, hidden defects often become visible.
Make it safe and weatherproof before decorating
The right order of work is rarely glamorous. Stabilise unsafe areas, repair the roof, deal with rainwater drainage and make the shell weatherproof before fitting insulation, plaster or joinery.
A leaking roof can undo new internal work in a single wet autumn or winter. Similarly, poor ground drainage can keep walls damp even after they have been replastered. Address the cause of moisture rather than simply covering up stains.
Decorating before the roof, structure and moisture problems are resolved is one of the quickest ways to spend twice.
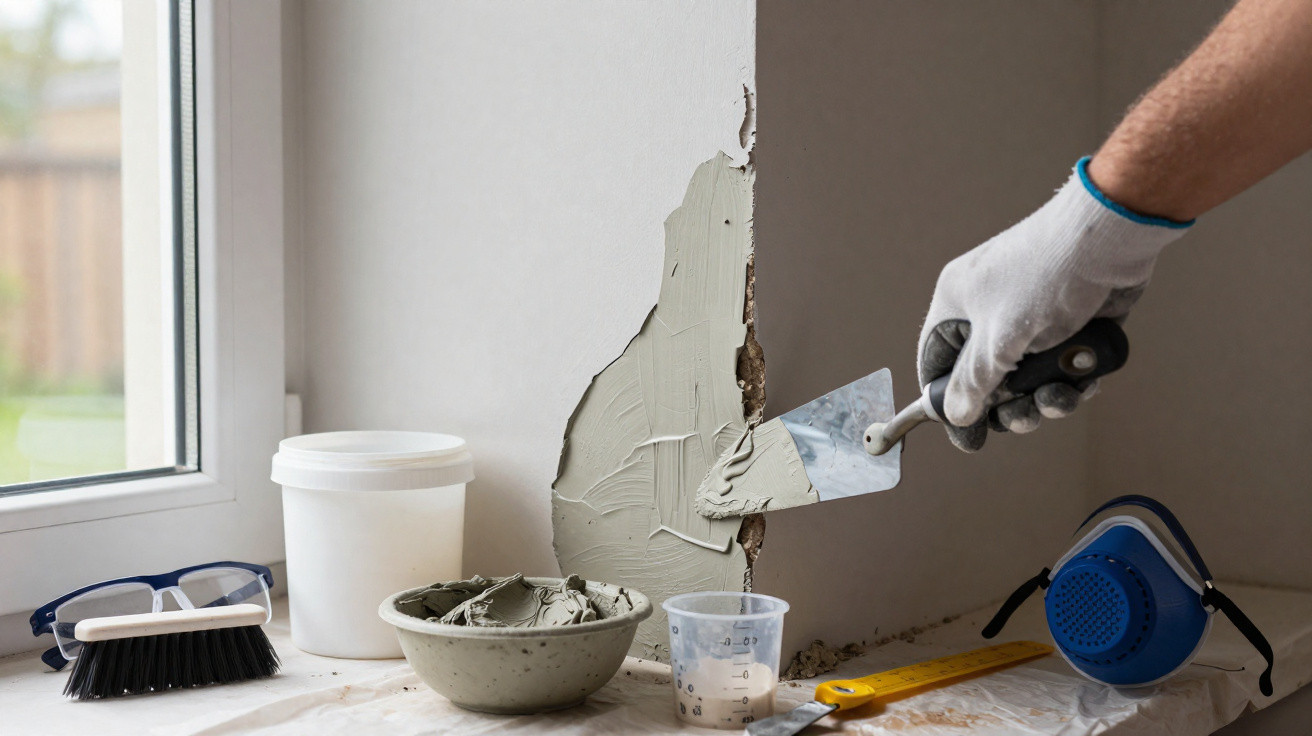
For a traditional stone cottage, discuss moisture management carefully with an appropriate professional. Lime-based mortar and plaster may be more suitable than dense cement-based materials in some older walls, because they can allow moisture to evaporate. That does not mean every old building needs the same solution, and “rising damp” should not be assumed without a proper diagnosis.
Build a warm home without trapping moisture
Once the structure and roof are secure, attention can turn to the floor, insulation, draught-proofing and heating. In a tiny house, cold surfaces and limited air circulation can lead to condensation quickly, especially in a damp UK winter.
Insulation and ventilation need to be planned together. Kitchens, bathrooms and drying laundry produce considerable moisture, and a more airtight home needs effective routes for humid air to leave.
Priorities for the thermal upgrade
- Repair roof coverings and flashing before insulating beneath them.
- Choose insulation that suits the wall and floor construction.
- Seal unwanted draughts around doors, windows, floors and service penetrations.
- Include suitable extract ventilation in the kitchen and bathroom.
- Plan the heating system early, as pipework, radiators, electric supply and hot-water storage affect the layout.
- Ask the relevant authority or approved professional what approvals are needed before work starts.
In England and Wales, Building Regulations may apply to structural work, replacement elements and changes to services. In Scotland, building warrant procedures are different, so check with the local authority or an approved verifier rather than relying on guidance intended for elsewhere in the UK.
Let daylight shape the layout
A compact two-storey cottage often works best when the brighter level becomes the daytime living area. Moving the kitchen, dining table and sitting space upstairs can make better use of roof windows, dormers or larger upper-floor openings, while keeping the lower floor for a bedroom and bathroom.
The arrangement should be led by the building rather than by a fashionable floor plan. Consider where daylight enters, where headroom is limited and how people will move through the rooms. Every internal partition takes up valuable floor area.
Stairs deserve particular attention. They must be designed with appropriate headroom, handrails, guarding and safe treads; they should not be treated as a last-minute feature squeezed into a gap. A well-designed stair can also create useful storage beneath it.
Common mistakes when renovating a tiny old cottage
- Assuming a small house is a simple DIY job. Limited space can make work harder for trades, while structural work remains specialist work.
- Underestimating access. Narrow lanes, restricted parking, scaffolding, skips and deliveries can affect both cost and programme.
- Delaying roof repairs. Internal finishes should not begin while the building is still vulnerable to rain.
- Adding too many partitions. A collection of tiny rooms can make 37 square metres feel much smaller.
- Selecting windows on looks alone. Ventilation, thermal performance, security and planning restrictions matter as much as appearance.
- Forgetting storage. Under-stair cupboards, tall units and fitted bedroom storage help prevent clutter taking over.
- Assuming permissions will be straightforward. A dormer, altered windows or major changes to a derelict building may need consent as well as Building Regulations approval.
Safety and compliance are not optional
Derelict buildings can contain fragile floors, unstable masonry, rotten stairs, sharp debris and unsafe roof voids. Do not enter alone if the structure is questionable, and never climb onto a roof without suitable training, equipment and safeguards.
Structural alterations, new drainage, gas work and electrical work should be carried out or checked by appropriately competent professionals. If asbestos is suspected, stop work and arrange an assessment. Never drill, sand, cut or break up unknown insulating boards, pipe lagging, old floor tiles or textured coatings.
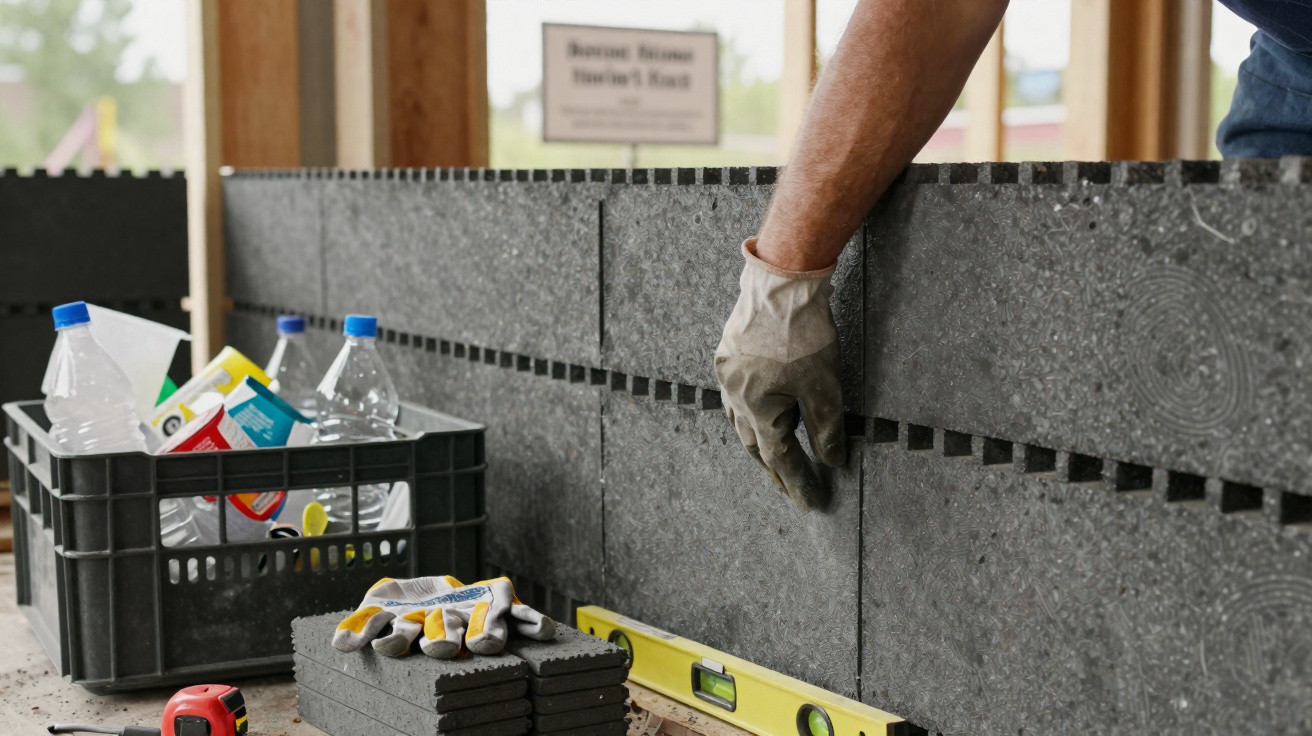
Take care with cleaning products too. Never mix bleach with acids, descalers, toilet cleaners or ammonia-based products, as dangerous fumes can be produced. Ventilate the space and wear suitable gloves and eye protection when dealing with dirt, mould or chemical residues.
Finish with flexibility, not clutter
Once the cottage is dry, insulated, serviced and safe, the interior can be kept calm and practical. Durable flooring, a restrained palette and layered lighting can make a small home feel connected rather than crowded.
Choose fittings that earn their place: a dining table that can double as a work surface, wall lights that free up side tables, and storage that uses awkward corners rather than adding bulky furniture. Avoid filling every wall with cupboards; leaving some visual breathing room matters in a compact home.
The lasting takeaway is not that every abandoned cottage is a bargain. It is that a modest building can become a comfortable home when the structure comes first, the layout follows daylight and the budget allows for the realities of old fabric. Begin with condition, permissions and safety - then let the character of the cottage do the rest.









Comments
No comments yet. Be the first to comment!
Leave a Comment